Creating and editing pages
Add pages to your website for content such as your About section, portfolios, or FAQs. Unlike your homepage, these pages let you add, remove, and reorder content sections. Blog posts use the same editor.
Adding a page
Plan required
- Select WEBSITE > Pages in the left menu.
- Click Add page. If prompted to choose a page type, select New.
- Enter your page title under Page Information.
- Add your content under Layout.
- Upload a thumbnail image under Hero Header. A page needs one before it can be published.
- Click Save to save your work, then Publish when you’re ready to make it live.
Publishing doesn’t automatically add a page to your navigation menu. To help visitors find it, see Your navigation menu.
Managing your pages
The Pages list shows all your pages. Check the Status column to see whether a page is published, or click View live to open a published page on your website.
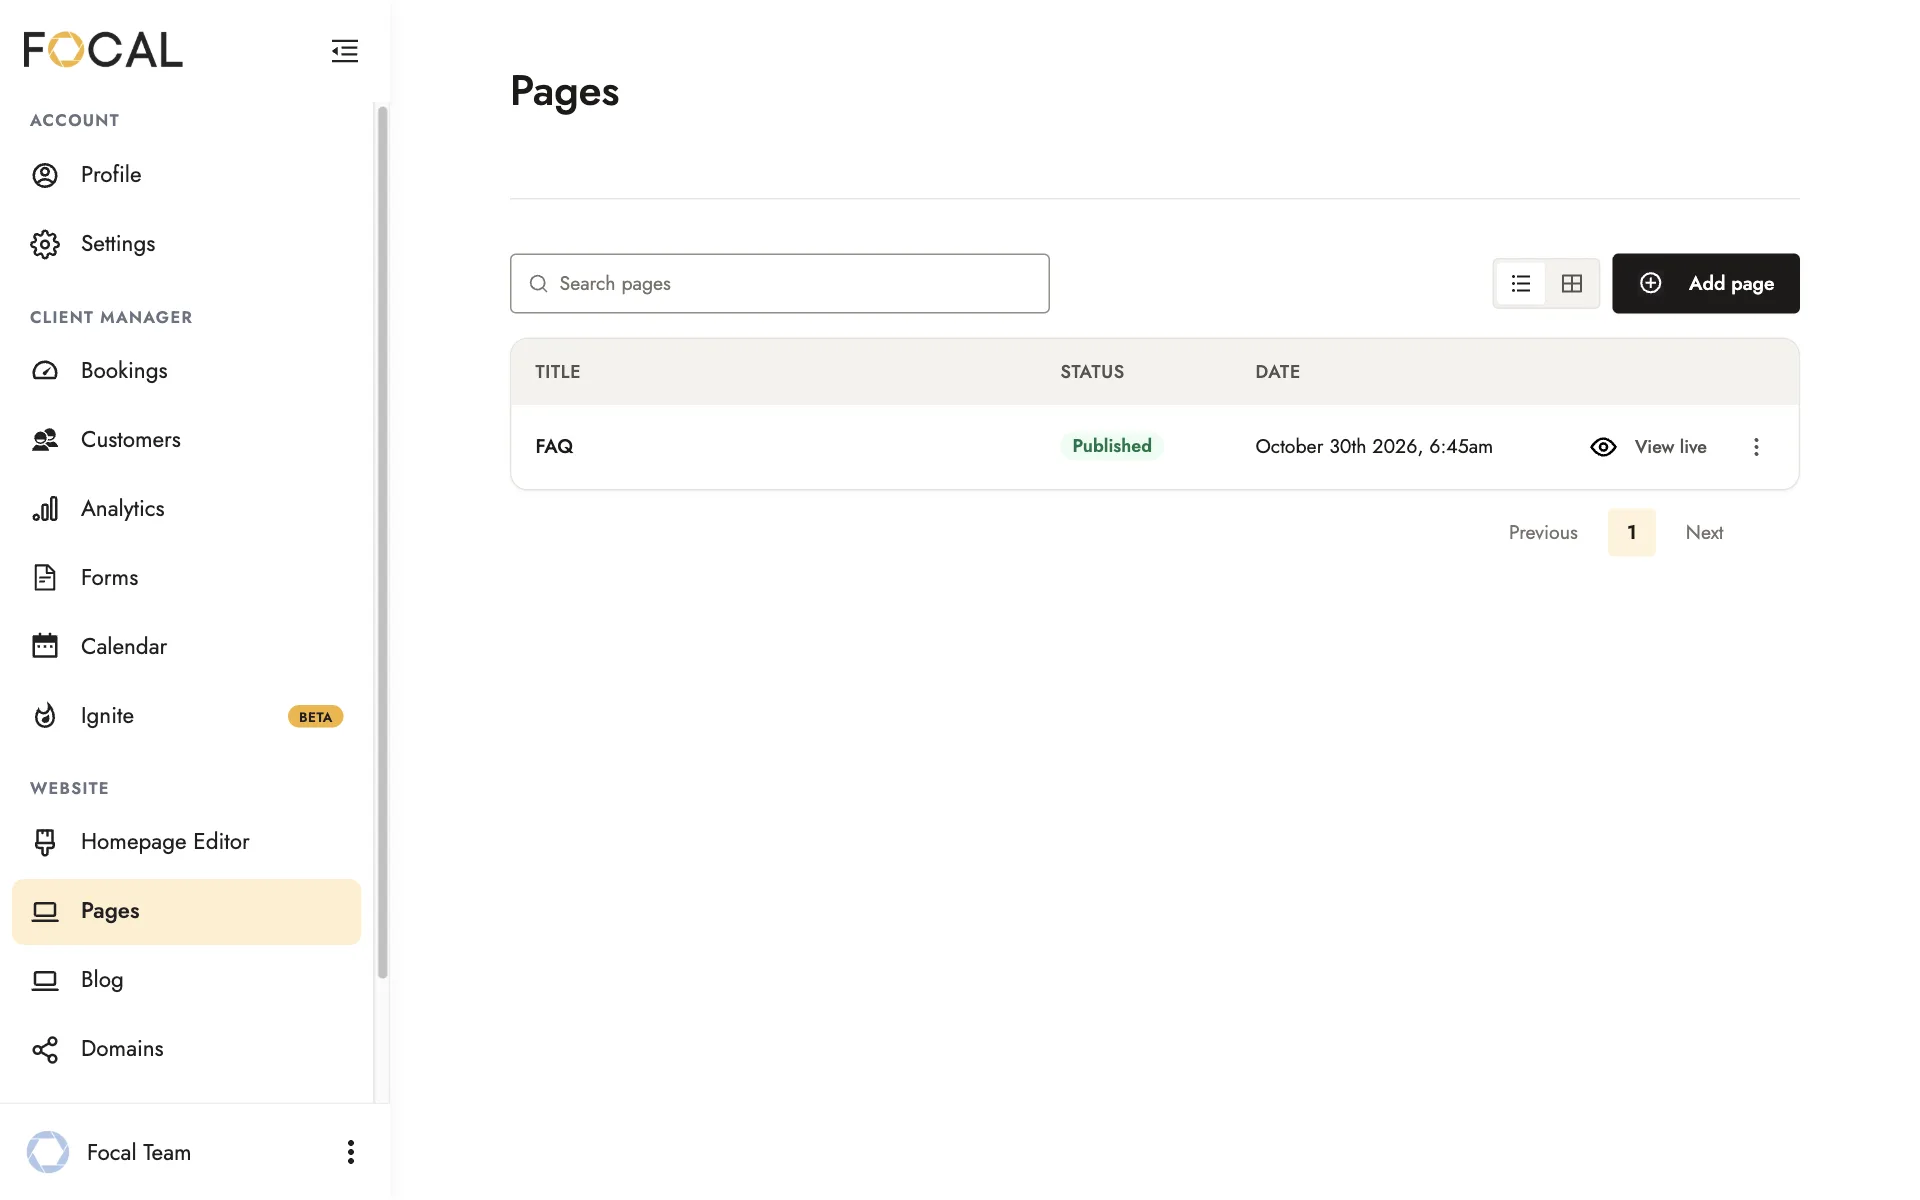
Open the actions menu beside a page to:
- Duplicate it.
- Unpublish it.
- Move it to your blog.
- Delete it.
Editing a page
- Open the page from your Pages list.
- Click the edit button (the pencil icon) in the top-right corner.
- Click text directly on the page to edit it, or use the panel on the left to add sections.
Remember to click Save when you’re finished. If the page is already published, saving updates your live website immediately.
Adding text, photos, and videos
Under Layout, choose a layout and click or drag it onto the page.
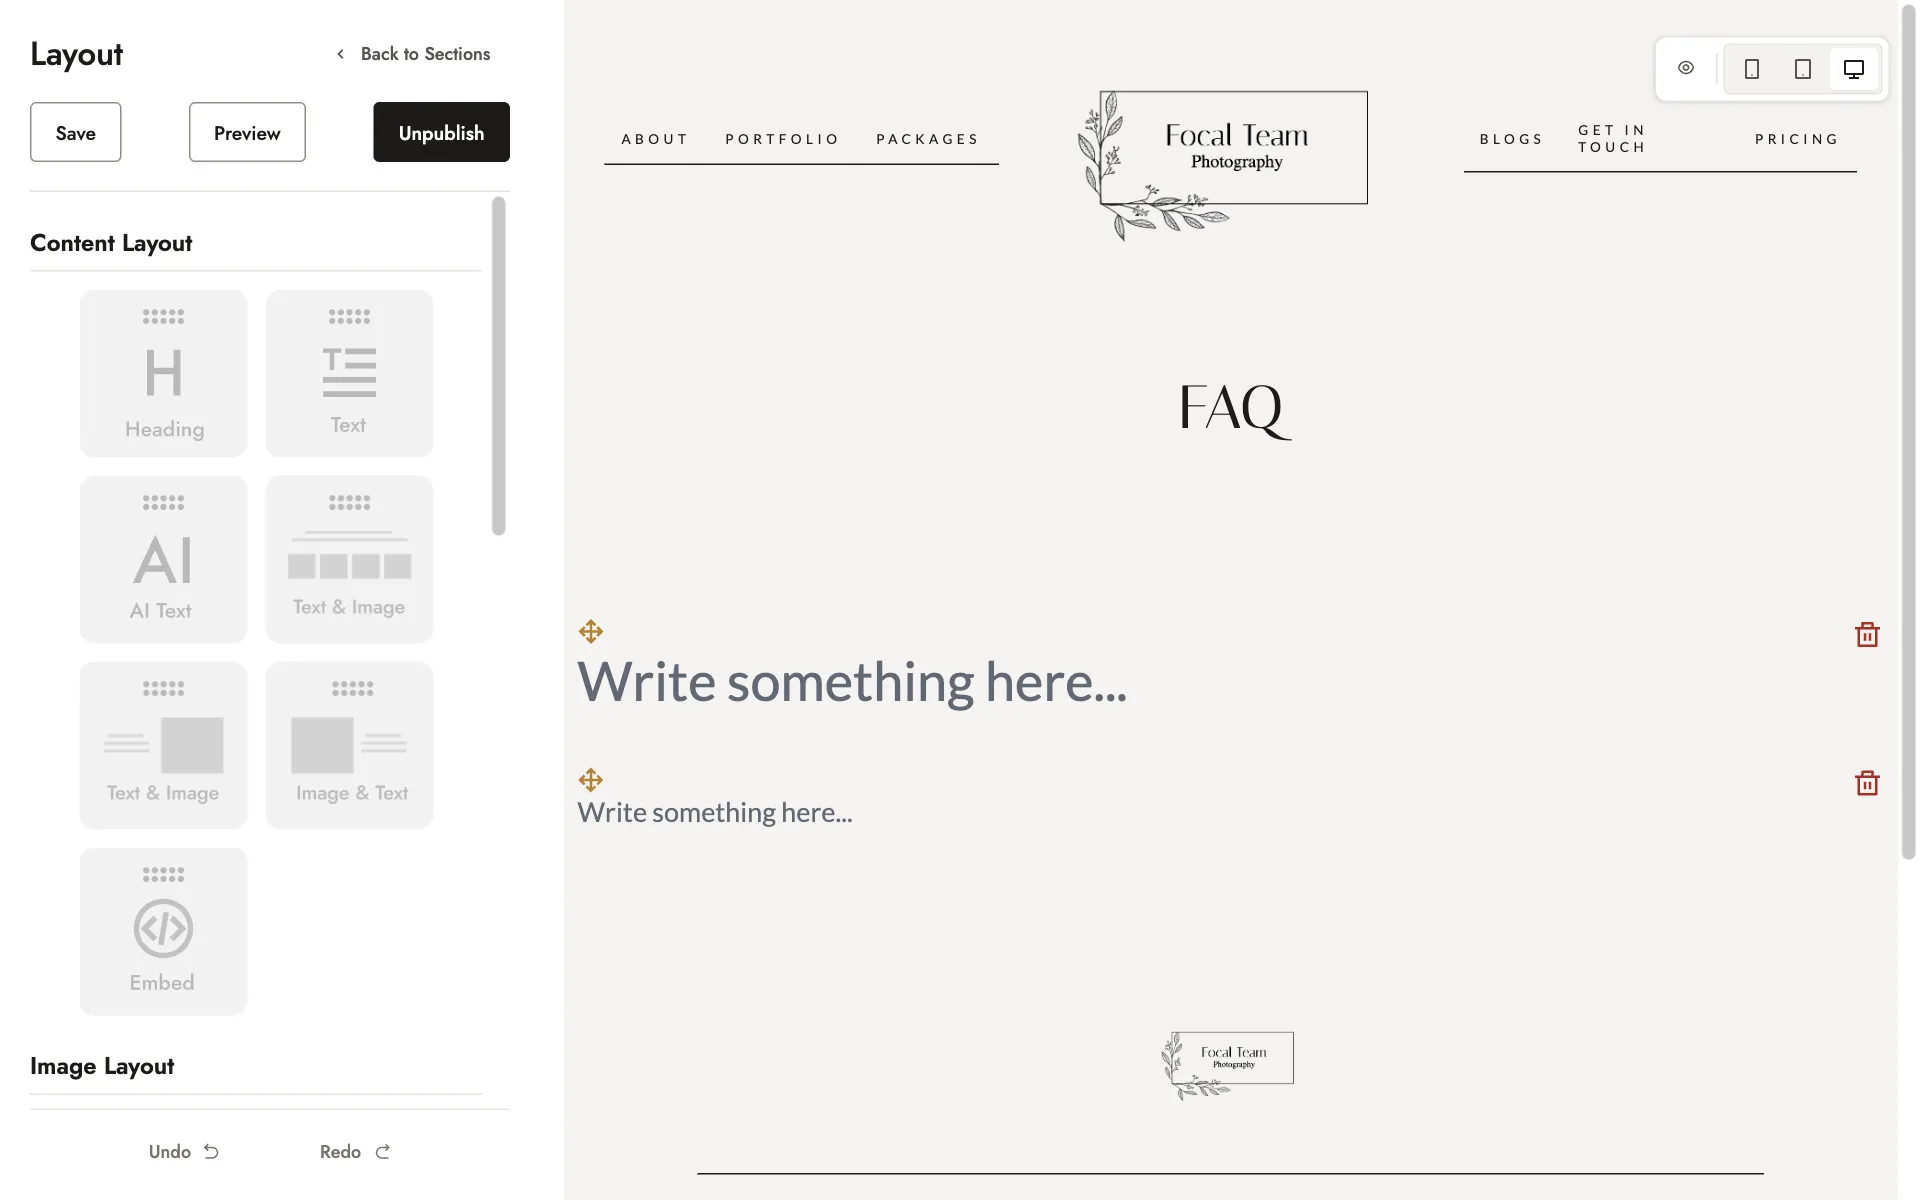
Text and content layouts
Add a layout, then click its text to start editing.
Content layouts also include Add an embed, which you can use to add a Pic-Time blog or a Flodesk form to your page.
On Core and All You Need, you can also use the AI text tool to create a draft from a prompt. It uses the writing style configured in your AI Assistant settings. See Blog posts and the AI assistant.
Image layouts
Choose Image Layout to add a single photo or a photo grid. The multi-image layout, at the bottom left of the image layouts, holds up to 100 photos.
After adding the layout, click Upload Files or drag your photos into it. Click the layout to add, remove, or reorder photos.
Video layouts
- Add a Video Layout.
- Paste your video’s URL into YouTube/Vimeo Link.
- Click Save.
Spacers
Add a Spacer to create more space between sections.
Formatting text
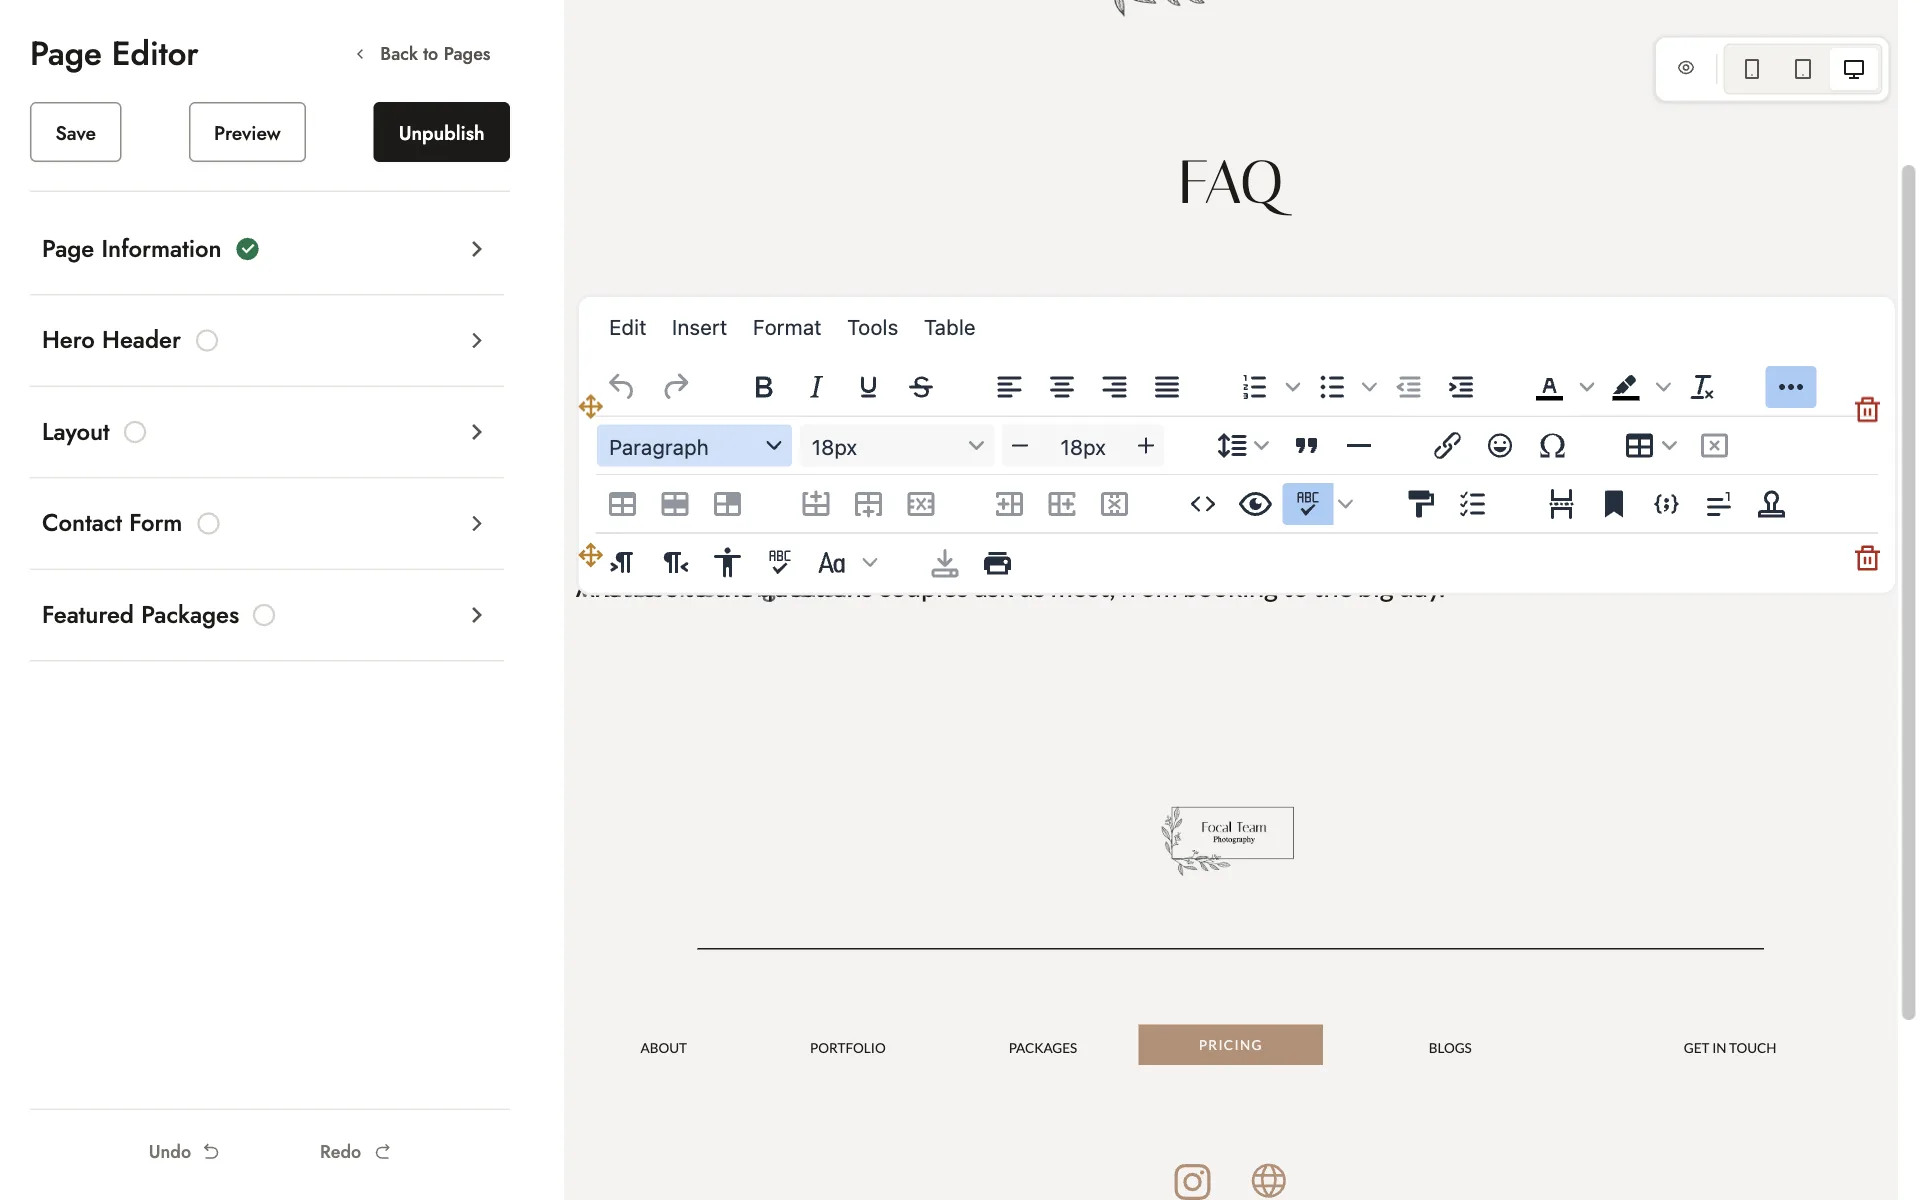
Click any text to edit it. A toolbar appears with options such as bold, lists, and text color.
Click the three dots on the toolbar for more options, including headings, font sizes, links, and tables.
Moving and removing sections
Hover over a section to reveal its controls:
- Move: Drag the handle to reposition the section.
- Remove: Click the bin icon to delete the section.
Other page options
- Hero Header: Add a banner at the top of your page. See Changing your hero images.
- Contact Form: Add a form visitors can use to get in touch. See Contact forms.
- Featured Packages: Display selected packages on the page. See Featuring packages, posts, galleries and pages.
- Page Information: Update the page title, web address, and display options.
Creating portfolio pages
Choose a focused selection of your strongest photos to give visitors a clear sense of your style. Use client galleries when you need to deliver a full collection.
If you offer different types of photography, consider a separate portfolio page for each (for example, portraits and branding). Add a short introduction explaining the service and what clients can expect.
Related guides
- Your navigation menuRenaming your menu links, choosing where each one goes, and your footer links.
- Contact formsEdit the contact form on your homepage, pages, blog posts and packages, and find where inquiries arrive.
- Blog posts and the AI assistantWrite a post yourself or with the Blog Generator, turn Instagram posts into blog posts, and make AI writing sound like you.
- Your homepageWhat each section of your homepage shows, and how to edit your About, Portfolio, Video, and Testimonials sections.
Still need help?
Email contact@bookfocal.com and a member of our team will help you.