Your profile
Your profile holds the main details about you and your business, such as your name, location, photos, logos, reviews and social links. You can edit them under Profile in your Focal account.
Opening your profile
To open your profile, click Profile under ACCOUNT in the left menu of your Focal account.
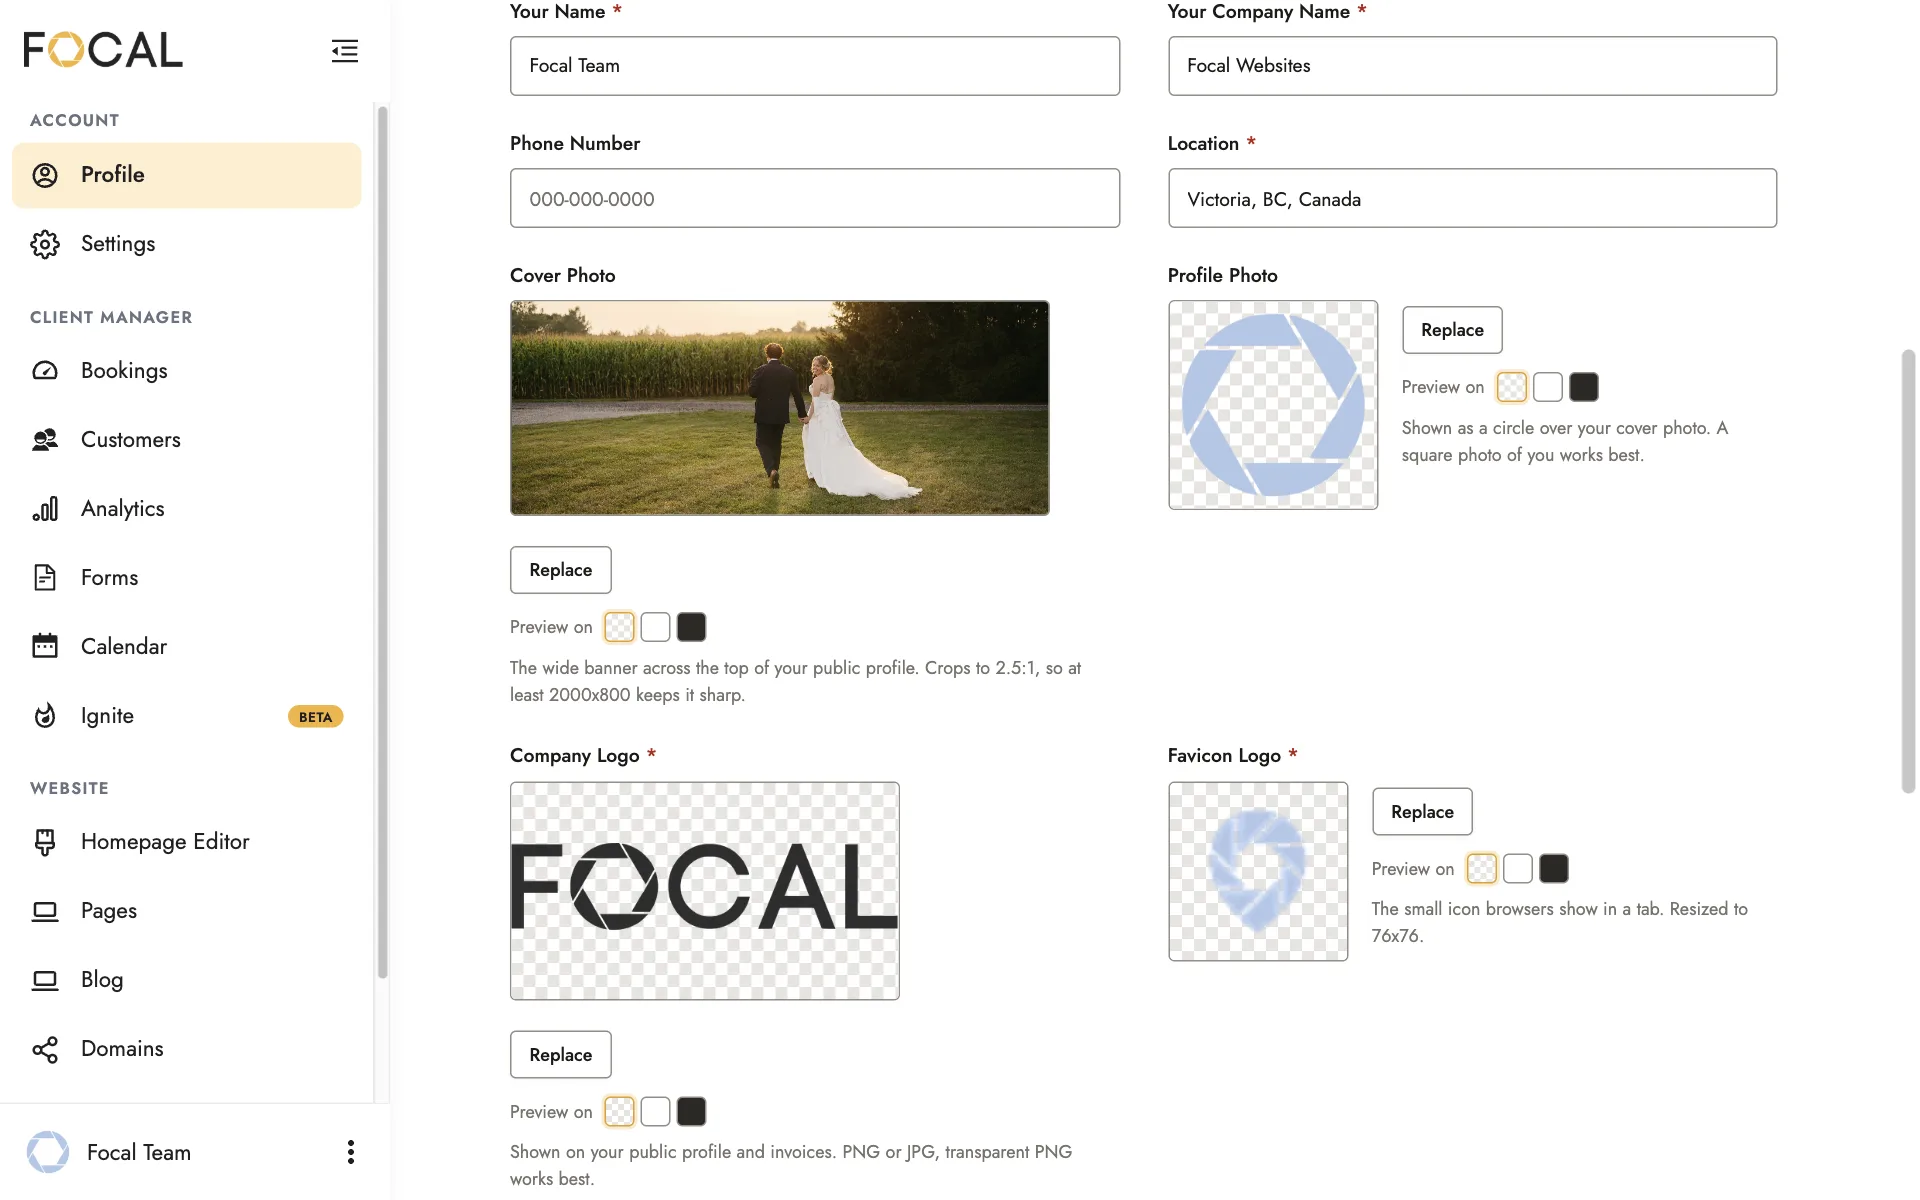
Important profile fields for SEO
Your Name, Your Company Name and Location are marked with a red star and are used in your website’s metadata.
Metadata is the information search engines read to understand what your website is about and who to show it to, so it’s important to enter the correct information in each of these fields.
- Your Name: your own full name, the name clients know and call you by.
- Your Company Name: your business name.
- Location: the city you shoot out of and target. The more niche the better, so you can use your actual city, not the biggest neighboring one.
You can also add a Phone Number, which is optional.
Your Focal account info sets your website’s metadata for you, so you don’t need to worry about setting up SEO separately. To boost your website’s visibility, see Getting found on Google.
Your cover photo and profile photo
Your cover photo is a wide banner, and your profile photo is a headshot.
They mainly appear at the top of your clients’ booking portals, the pages your clients receive when you accept a booking. See Bookings and client portals.
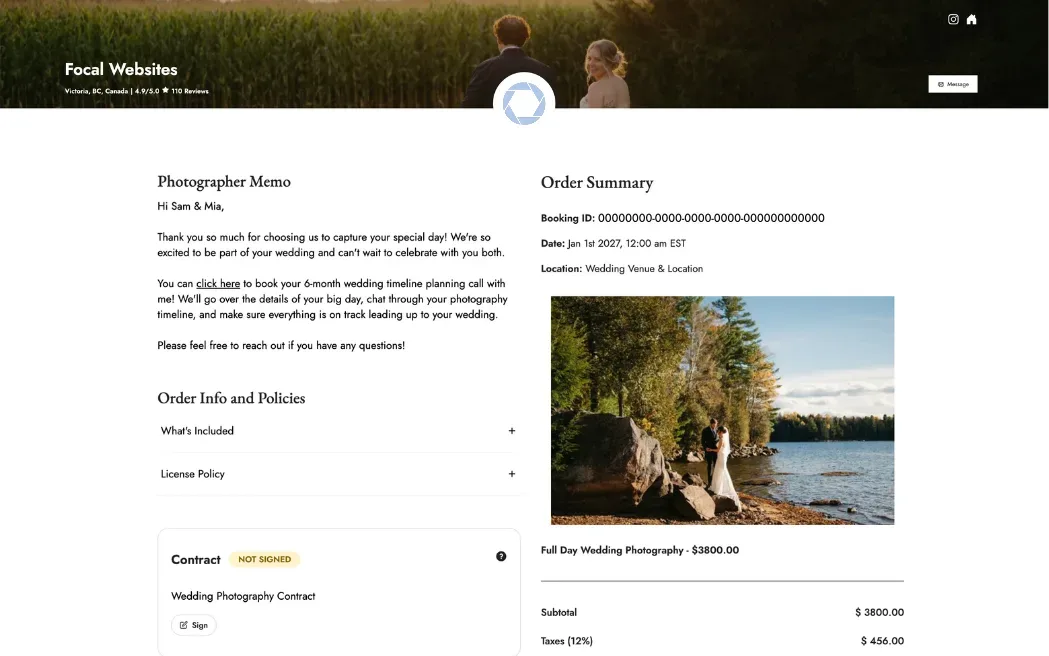
Choose photos you’d be happy for a client to see. A cover photo of at least 2000 × 800 pixels stays sharp, and a square photo works best for your profile photo.
To change a photo, click Select image under Cover Photo or Profile Photo, or Replace if you’ve already uploaded one.
For a cover photo, drag to choose the part of the photo you want clients to see, then click Use this crop.
Your logos
You upload logos in two places, and each is used for something different.
The logos in your profile are part of your website’s metadata, the information that search engines and browsers read about your website.
The logos in Style Settings are the ones visitors see on your website itself.
| Logo | Where you upload it | Where it appears |
|---|---|---|
| Company Logo | Your profile | With your website in search results, and on invoices and client booking portals |
| Favicon Logo | Your profile | On the browser tab |
| Light logo | Style Settings in the Homepage Editor | On your website, on dark backgrounds |
| Dark logo | Style Settings in the Homepage Editor | On your website, on light backgrounds |
Tip
In a browser, your favicon appears on the tab and your Style Settings logo appears in your website’s menu.
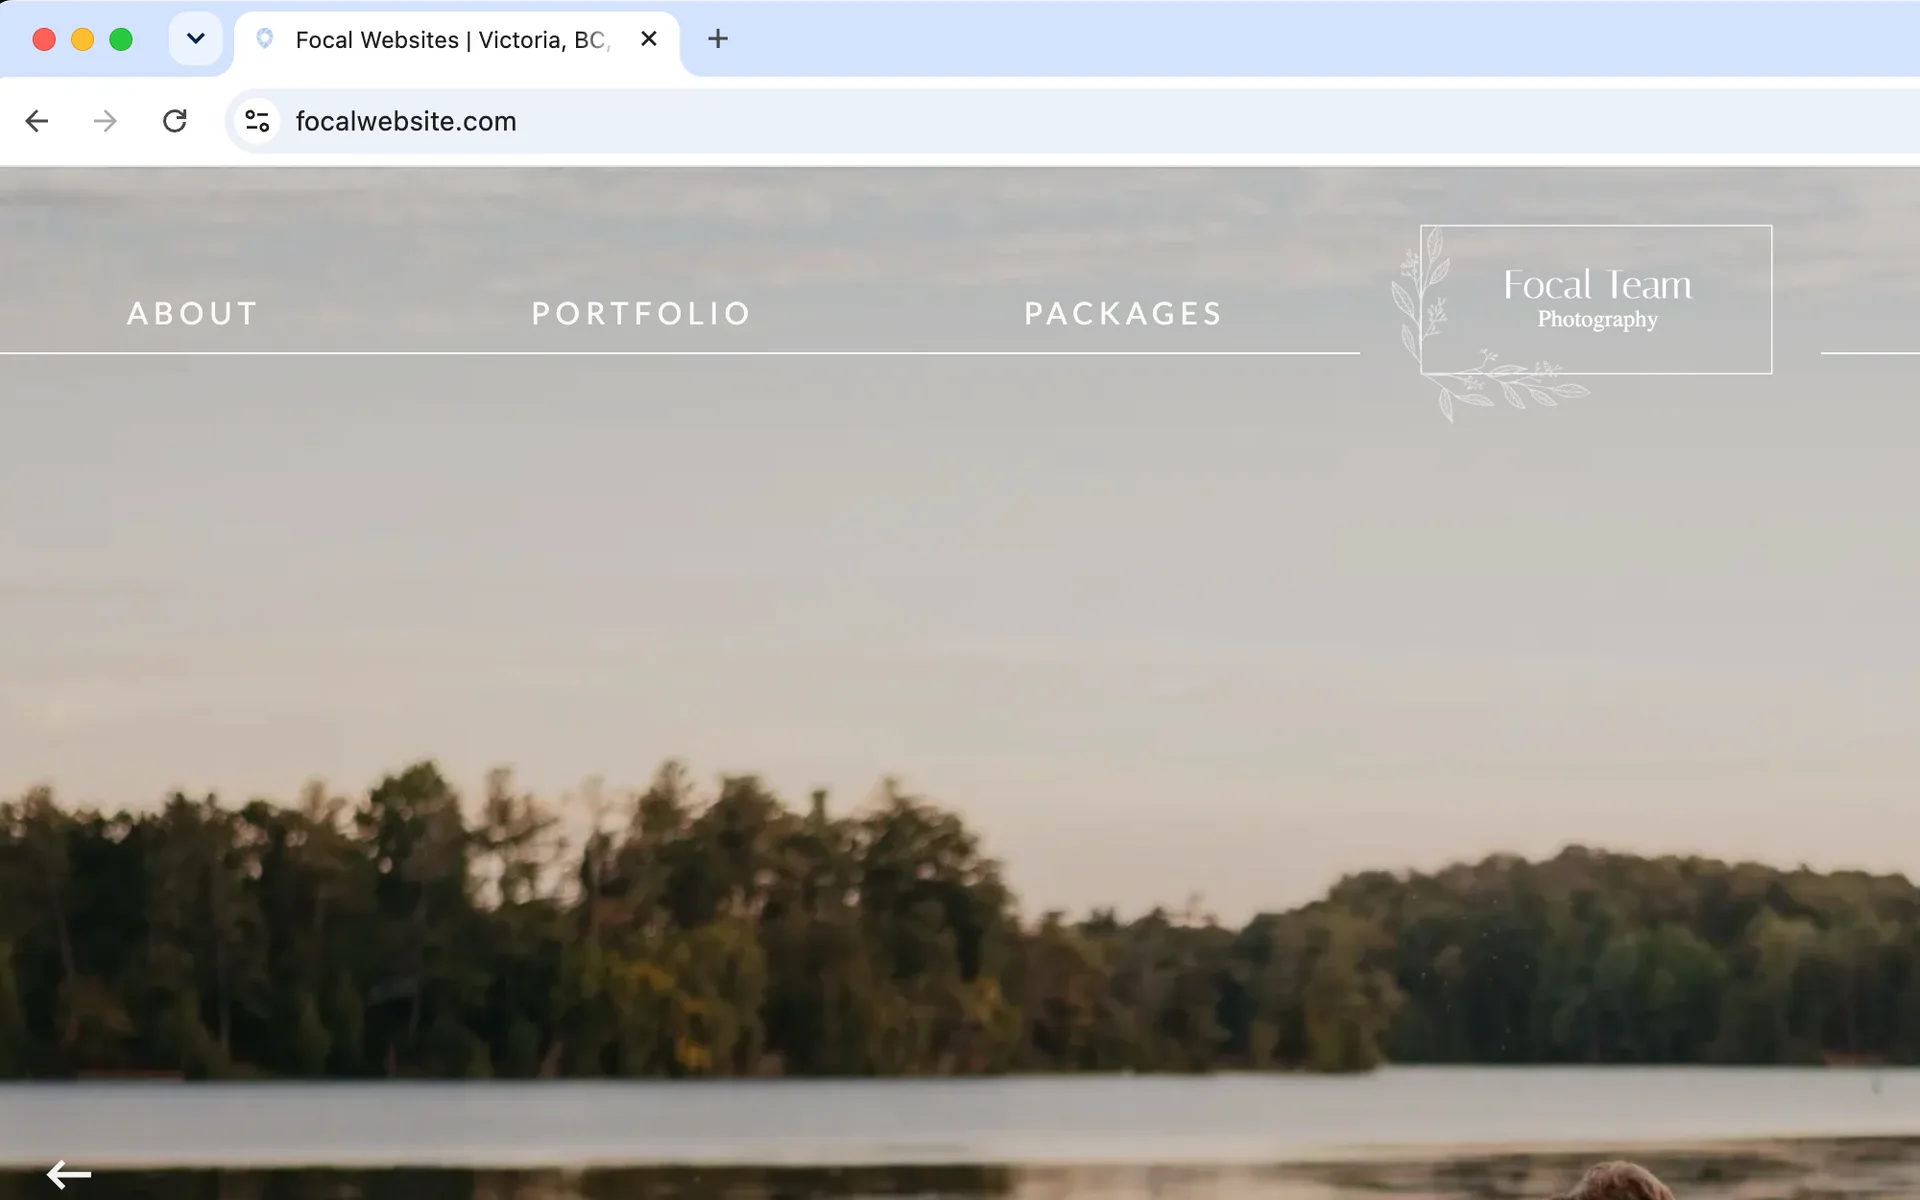
In search results, your Company Logo appears with your website. It also appears on your invoices and client booking portals.
To upload your Company Logo or Favicon Logo, click Select image under it, or Replace if you’ve already uploaded one, and choose a PNG or JPG file.
A PNG with a transparent background works best.
To upload your Style Settings logos, see Fonts, colors, templates and your logo.
Adding your reviews
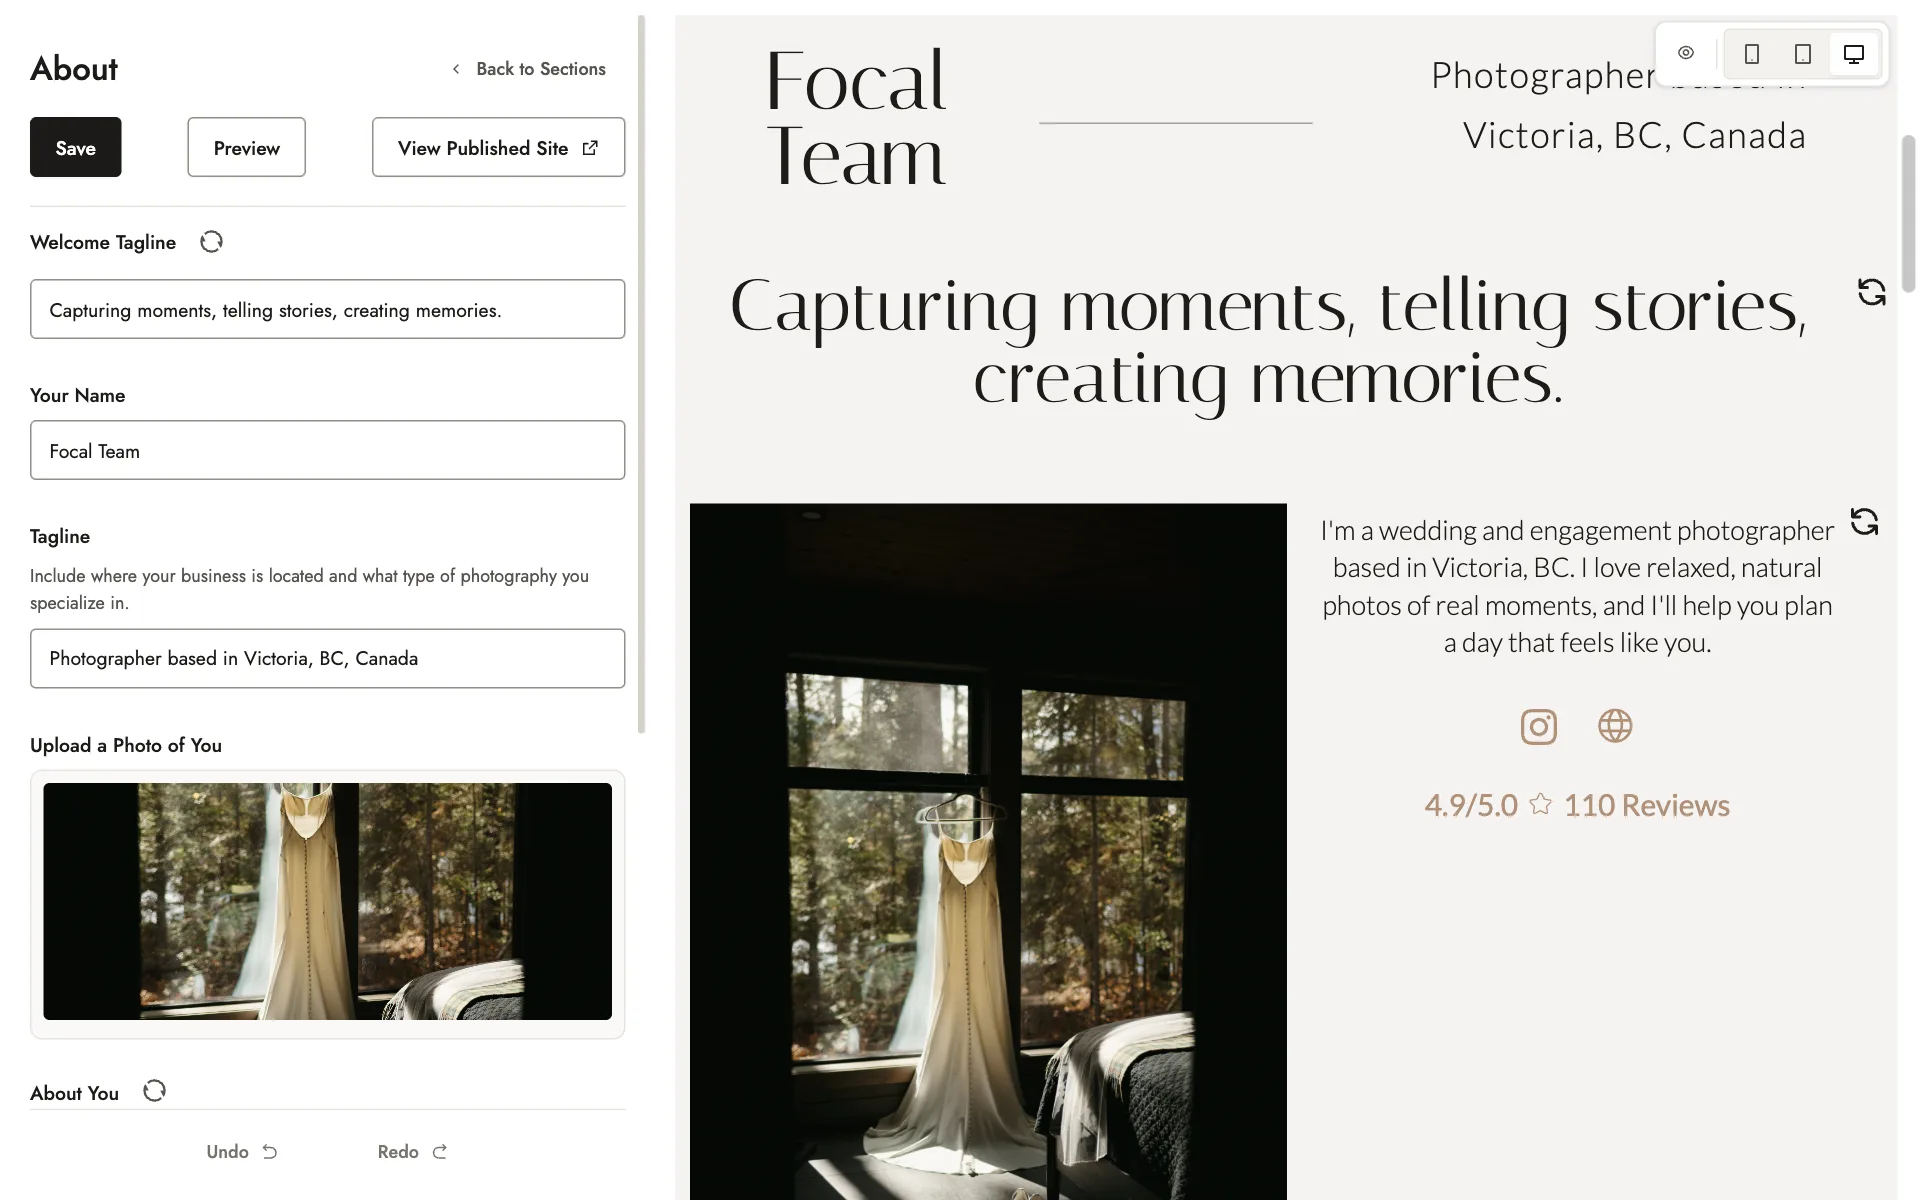
If you have reviews on Facebook or Google, you can show your star rating and number of reviews in the About section of your website.
Under Client reviews, enter your star rating out of 5 in Rating and your total in Number of reviews.
Then paste the address of your Facebook or Google reviews page into Link to your reviews. Your star rating on your website then links to it.
Fill in all three fields, or leave all three empty.
You enter these yourself, so update them when you get new reviews.
Tip
If you don’t have a Google Business Profile yet, we strongly recommend creating one for your SEO and visibility.
Adding your social links
You can add a link to each of your social media accounts, with one link for each platform. They appear as icons in the About section of your website.
To add a link, click Add social link under Social media, choose the platform, and paste the link to your profile on that platform.
To remove a link, click the remove button beside it.
You can also edit your links in the Social Links section of the Homepage Editor, which uses the same list.
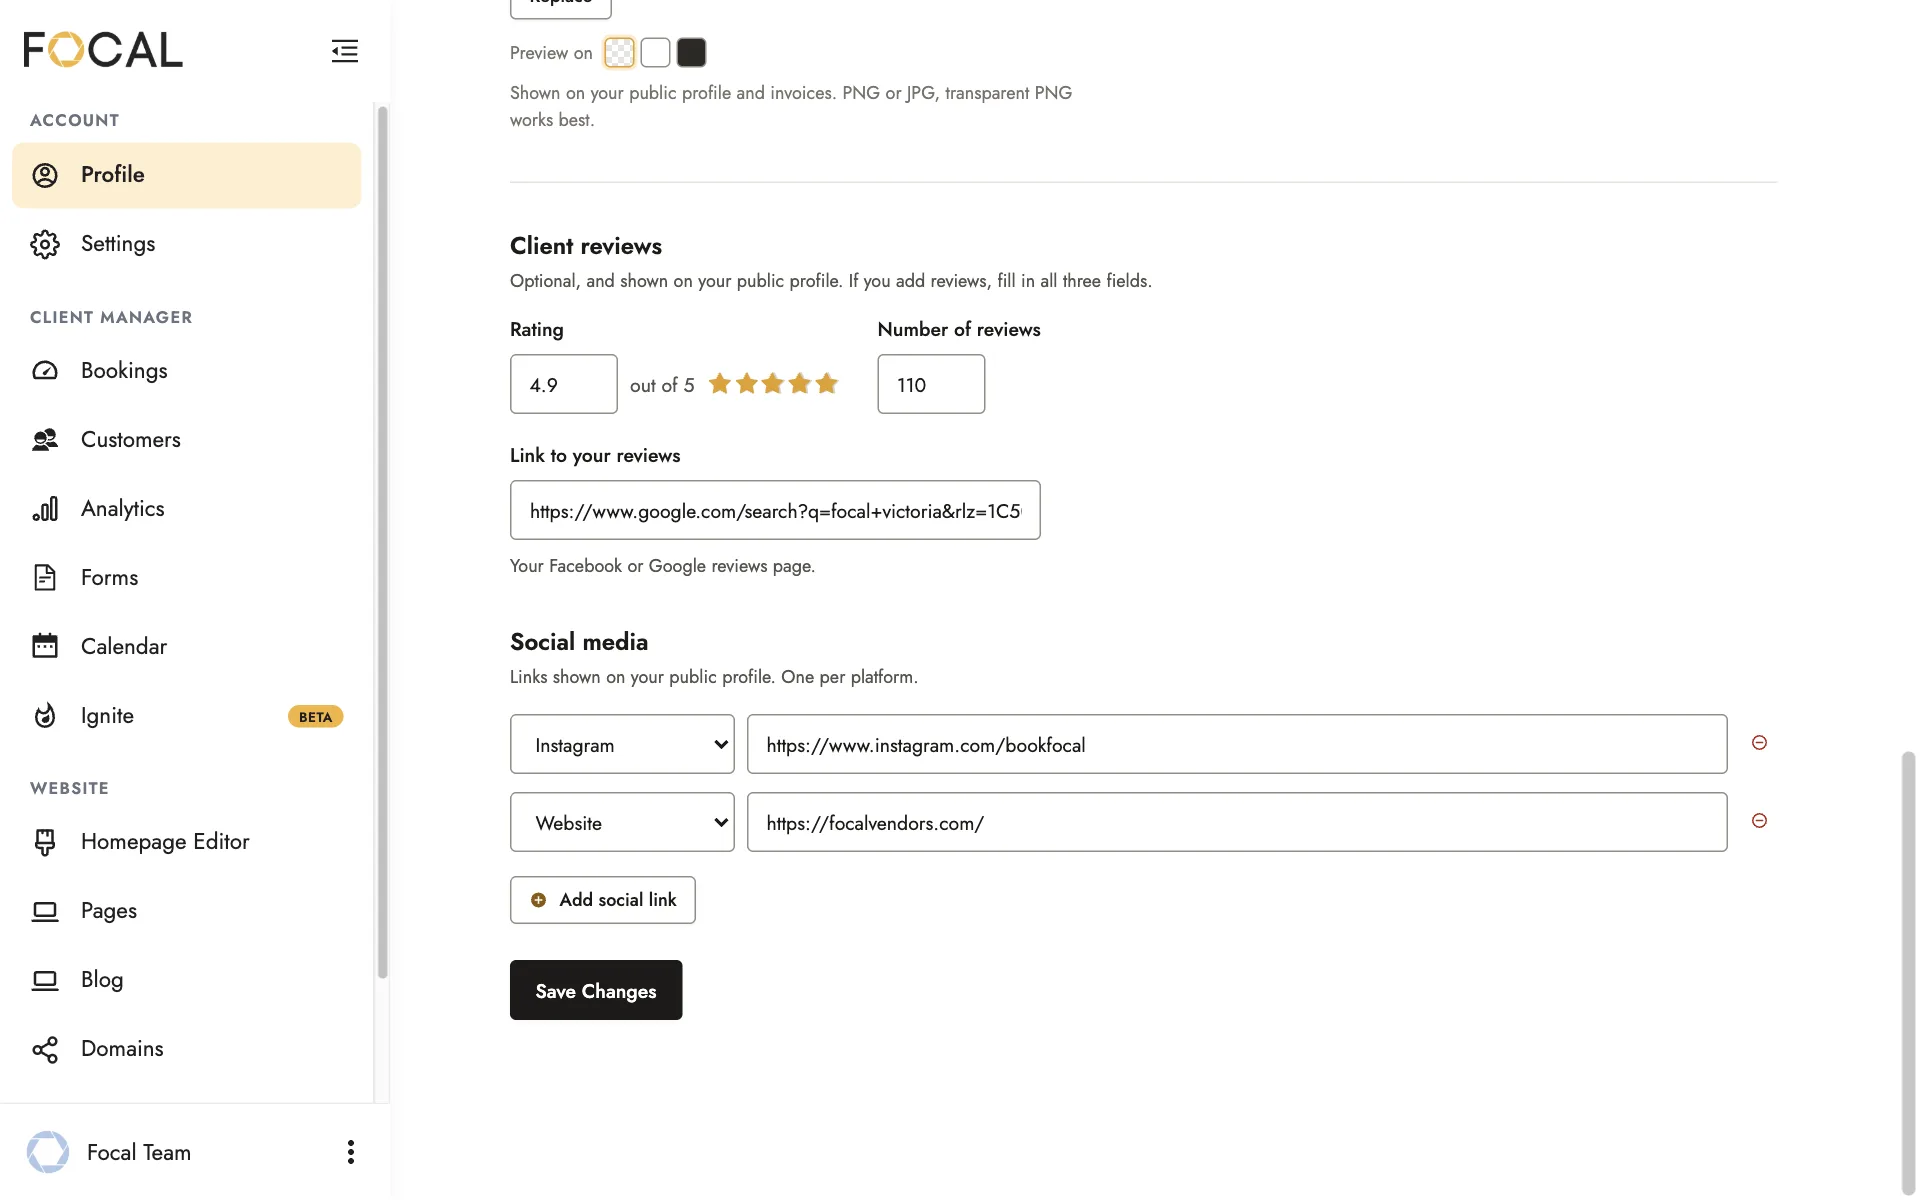
Save your changes
Click Save Changes at the bottom of your profile to save your changes. A message confirms that your profile has saved.
If you’re setting up your profile for the first time, the button says Create Account instead.
Before you click it, upload a Company Logo, Profile Photo and Cover Photo, because Focal can’t create your profile without them.
To see your star rating and social icons on your website, click View Published Site in the Homepage Editor and scroll to the About section.
Related guides
- Fonts, colors, templates and your logoStyle Settings: your template, color scheme, fonts, light and dark logos, and category.
- Your homepageWhat each section of your homepage shows, and how to edit your About, Portfolio, Video, and Testimonials sections.
- Focal editor basicsLogging in, what each tool in the left menu is for, locked features, and saving and publishing.
Still need help?
Email contact@bookfocal.com and a member of our team will help you.