Contact forms
A contact form lets visitors send you an inquiry from your website. Your homepage has a fixed contact form, and you can add one to any page or blog post, or set it as your package inquiry type.
Editing your homepage form
The Contact Form section is the inquiry form at the bottom of your homepage. It starts with four fields: Full Name, Email Address, Phone Number, and Message. You can add more, up to 10 fields in total.
The Contact Tagline and Contact Form Title fields set the text that appears above the form.
To add a field:
- In your Focal account, under WEBSITE in the left menu, click Homepage Editor.
- Open the Contact Form section and click Add Field.
- Choose a field type: Name, Email, Phone, or Text. Use Text for any other question, such as an event date or venue.
- Enter a title for the field. You can also add placeholder text, which shows an example answer inside the empty field.
- If visitors must answer the question, select Make This a Required Field.
- Click Save.
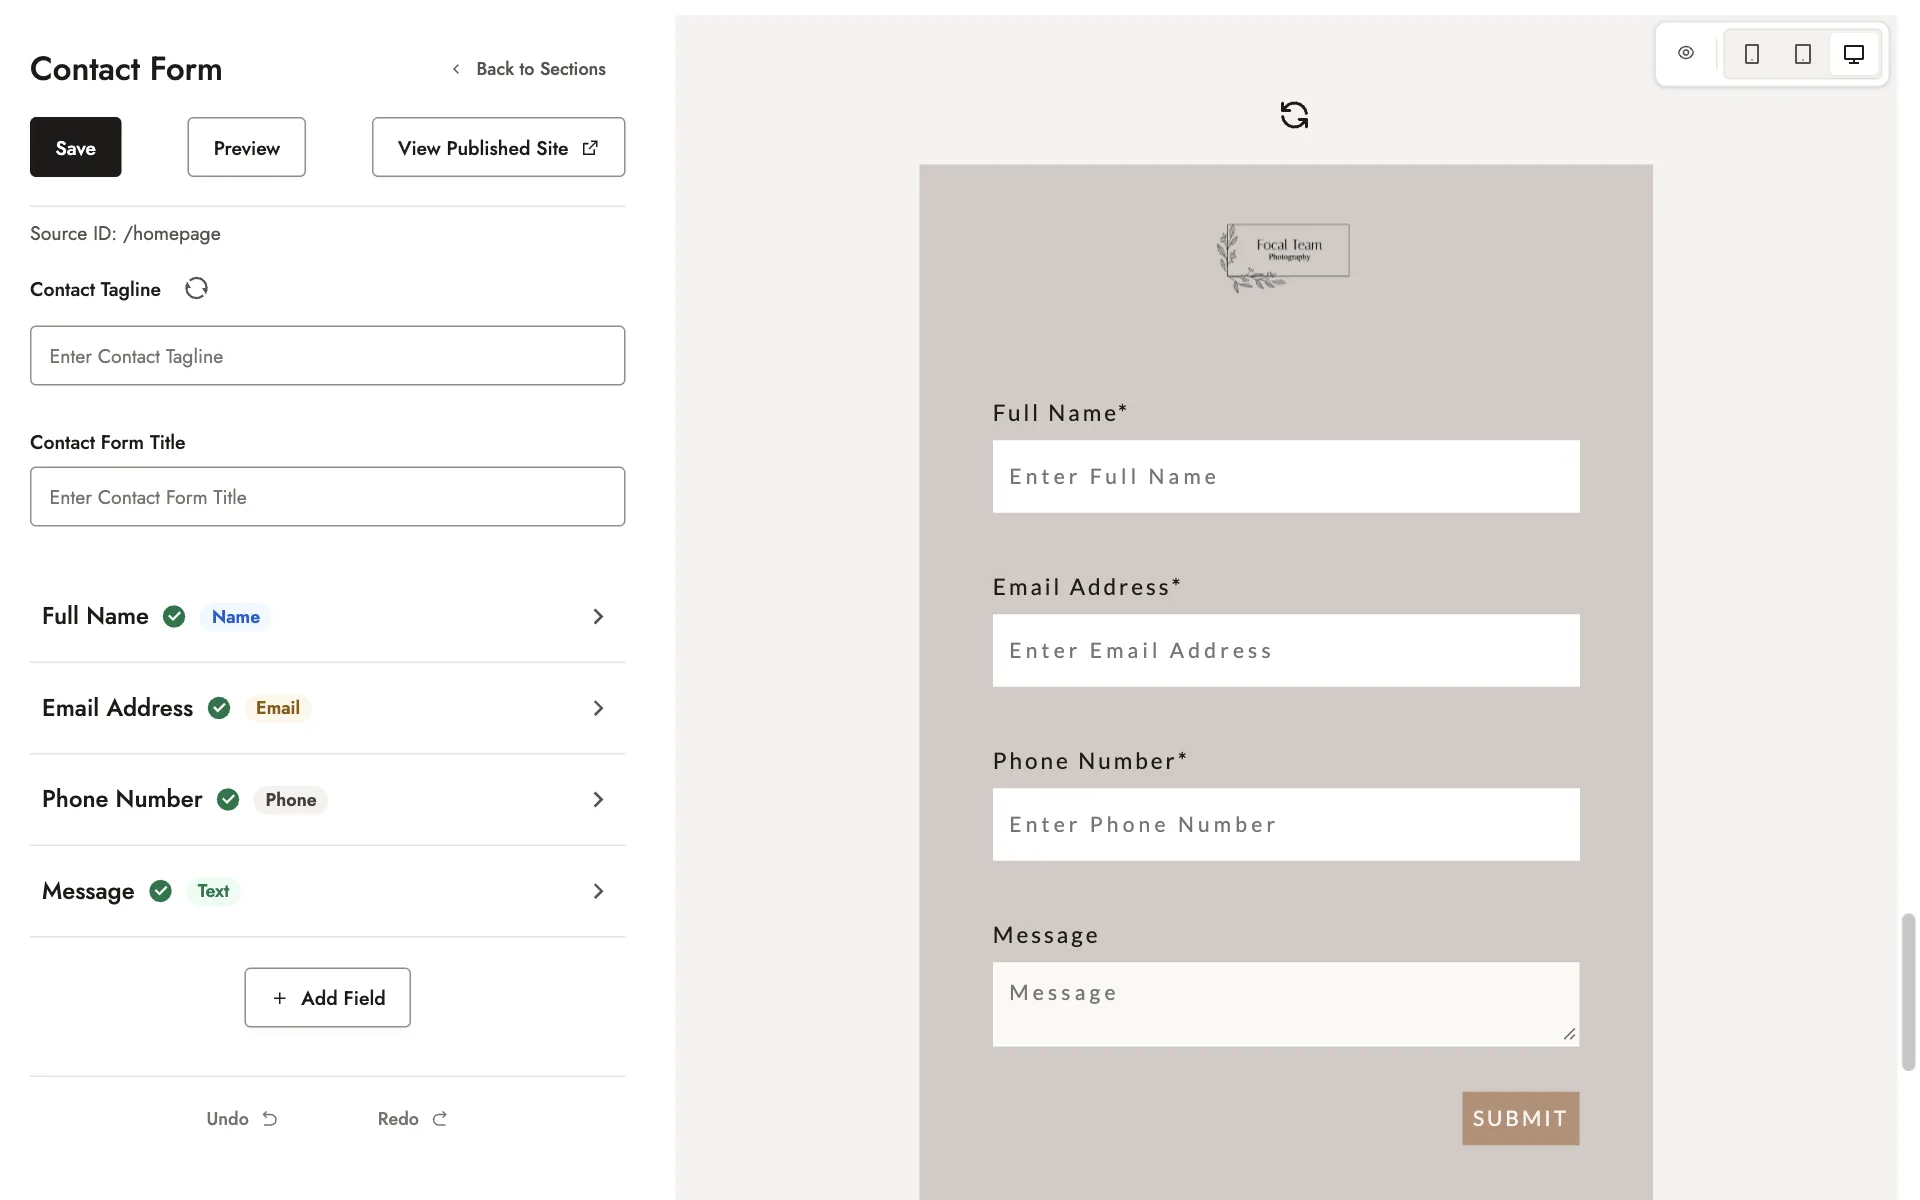
To change a field, click it in the list. To remove a field, open it and click Delete Field. The Full Name, Email Address, and Phone Number fields can’t be removed.
Phone Number starts as a required field. To make it optional, open it and untick Make This a Required Field.
We recommend keeping your homepage form short. Visitors who use it are often early in their search, and a few quick questions make it easy for them to get in touch. Ask more detailed questions on your contact page, where visitors have already decided to reach out.
Adding a form to a page or blog post
To add a form to a page or blog post:
- In your Focal account, under WEBSITE in the left menu, click Pages or Blog, then open the page or post.
- Open the Contact Form section and switch Add Contact Form to Yes.
- Set the tagline, title, and fields the same way as on your homepage.
- Click Save.
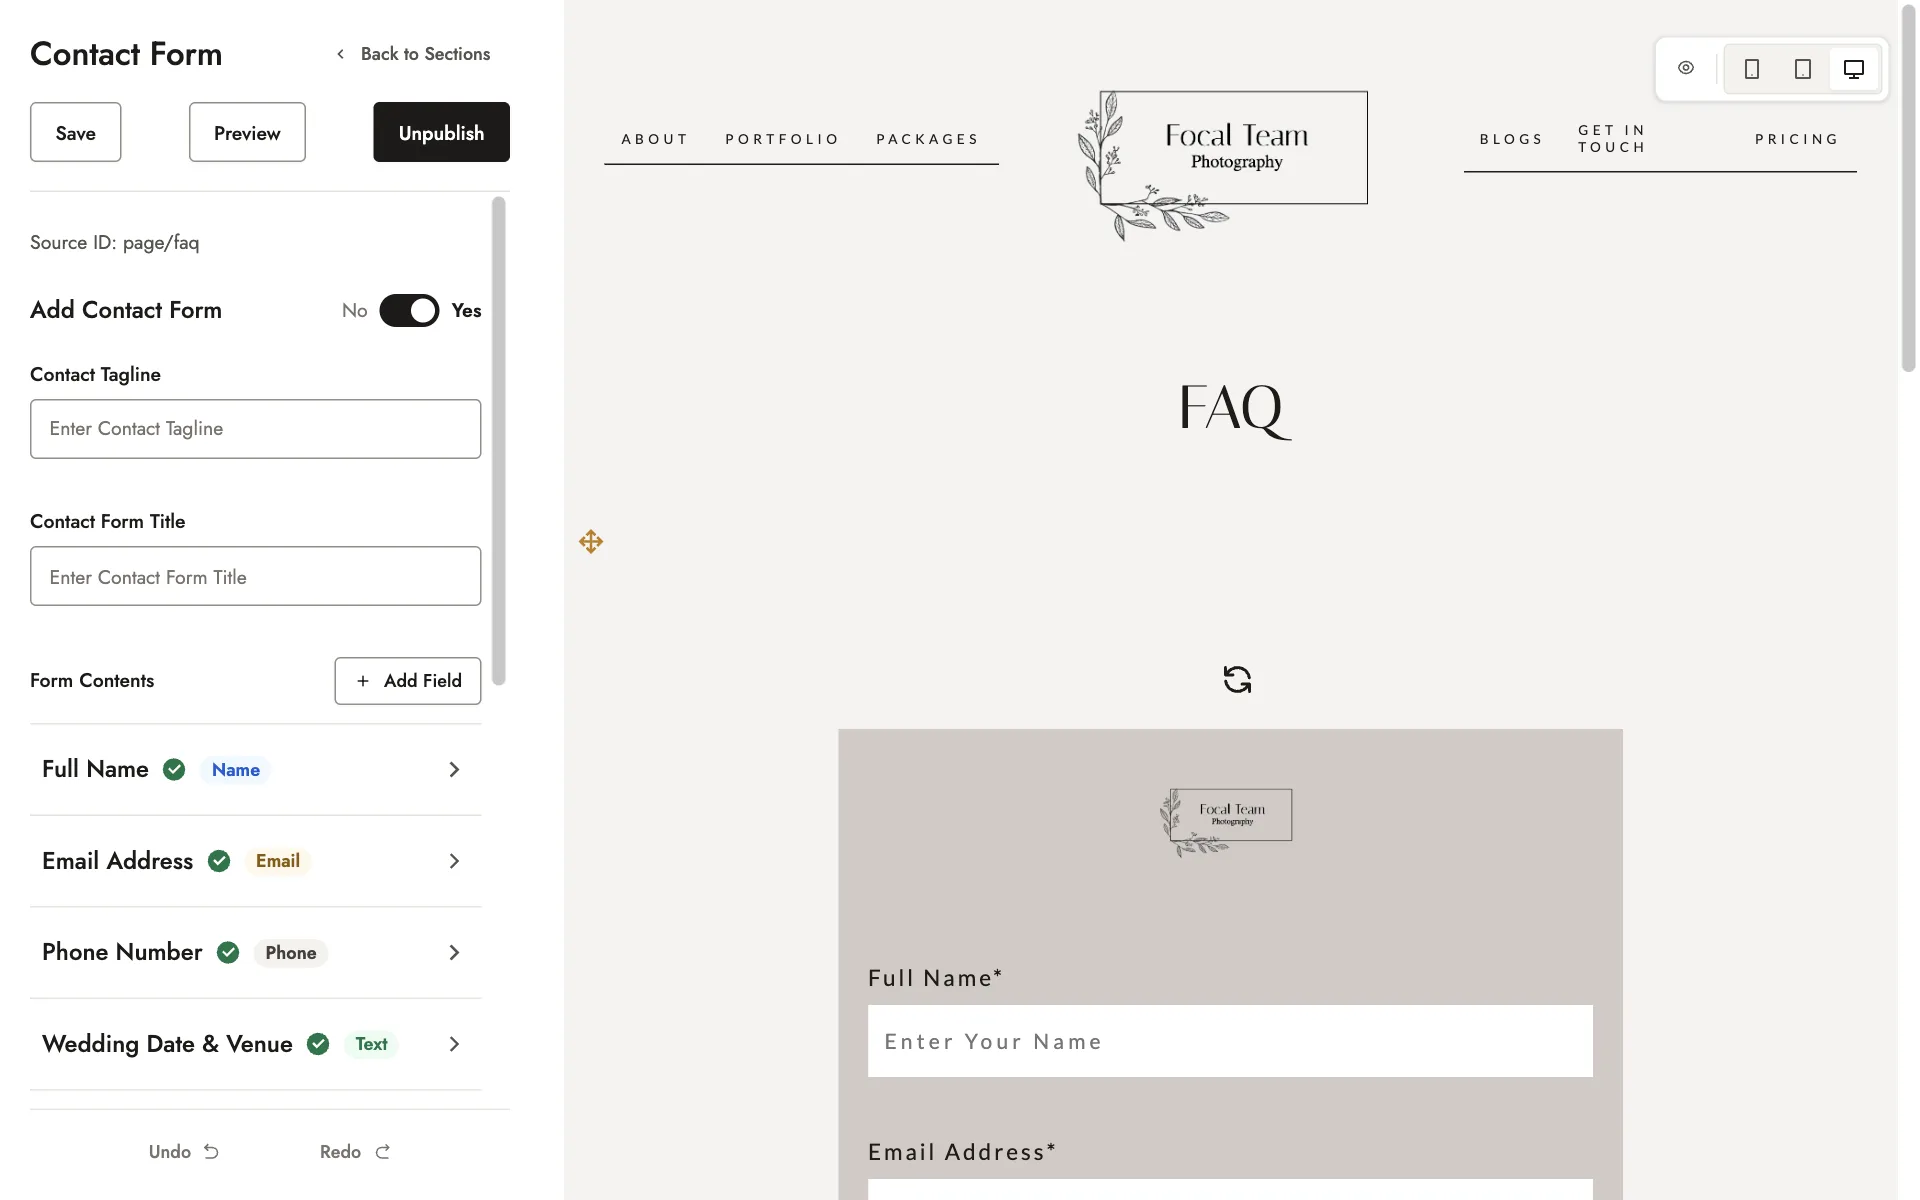
To take the form off, switch Add Contact Form back to No.
Editing a package form
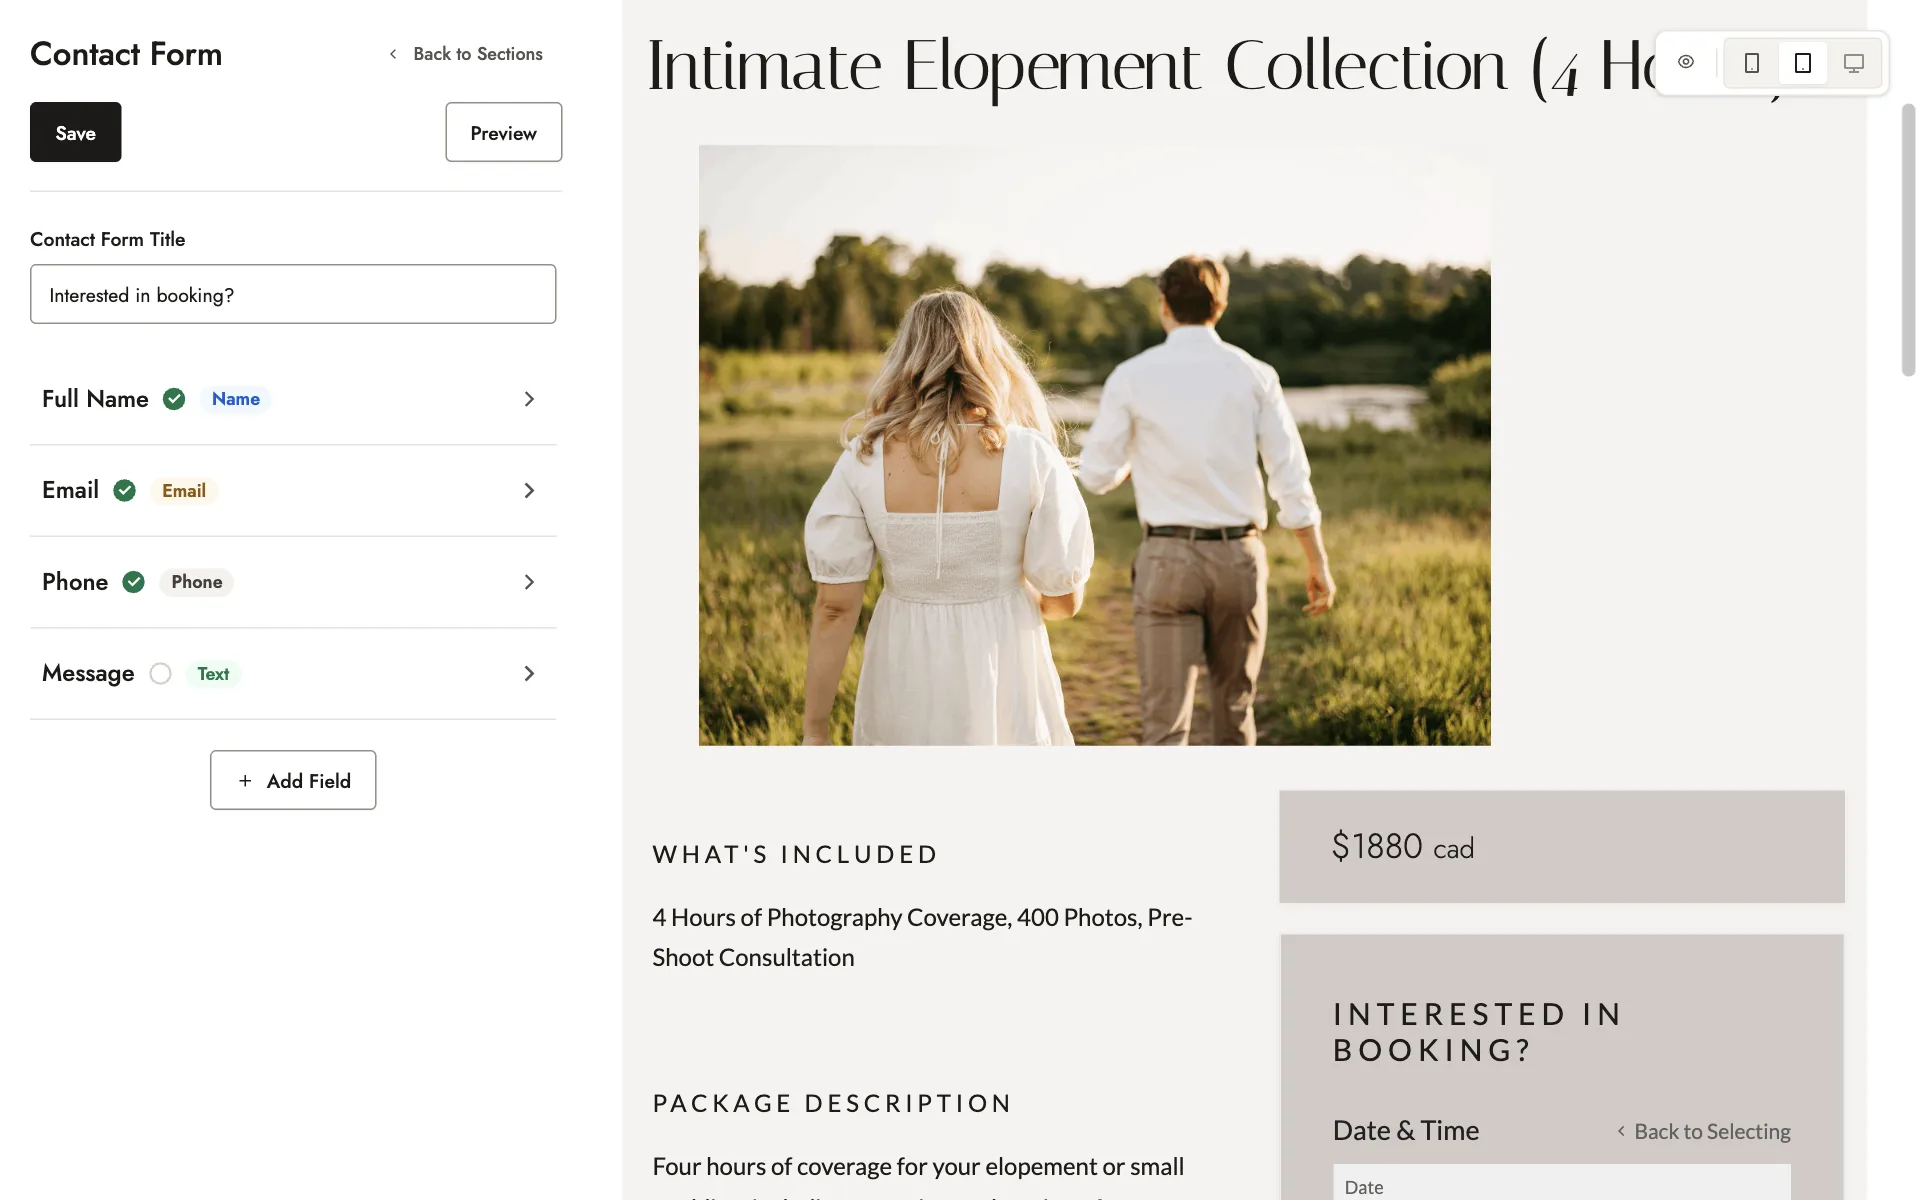
Each package has its own Contact Form section. On a package set to Contact Form Only, clients fill in this form to request a booking. You can change its title, which starts as “Interested in booking?”
To edit it, click Packages under WEBSITE in the left menu, open the package, then open its Contact Form section. Change the title and fields the same way as on your homepage, then click Save.
Receiving client inquiries
Inquiries from a contact form on your homepage, pages, or blog posts are sent to the email address you use to log into your Focal account. They don’t create a booking.
On the Core and All You Need plans, inquiries sent from a package’s form also appear under Bookings, where you can review the inquiry and convert it into a booking. See Bookings and client portals.
Plans
Related guides
- Your homepageWhat each section of your homepage shows, and how to edit your About, Portfolio, Video, and Testimonials sections.
- Packages and booking optionsAdd and publish a package, choose how clients book it, create add-ons, and organize your packages page.
- Bookings and client portalsAccept a booking request, set up your client’s portal, add a booking yourself, and manage your bookings.
- Creating and editing pagesAdd and publish a page, add text, photos, and video, and arrange its sections.
Still need help?
Email contact@bookfocal.com and a member of our team will help you.