Packages and booking options
Packages are the services you offer, such as a full wedding day or a one-hour engagement session. Each package has its own page with its photos, price, and details. You can show your packages together on your packages page, or share one privately with a link.
Adding a package
- Select WEBSITE > Packages in the left menu.
- Click Add Package.
- Choose Template to start from a suggested package, or New to start from scratch.
- Choose how clients will book the package, then click Next.
- If you chose Template, type the kind of session you offer, such as elopements, choose one of the AI-generated templates, and click Next.
- Fill in the package in the Package Editor, which opens next, then click Save.
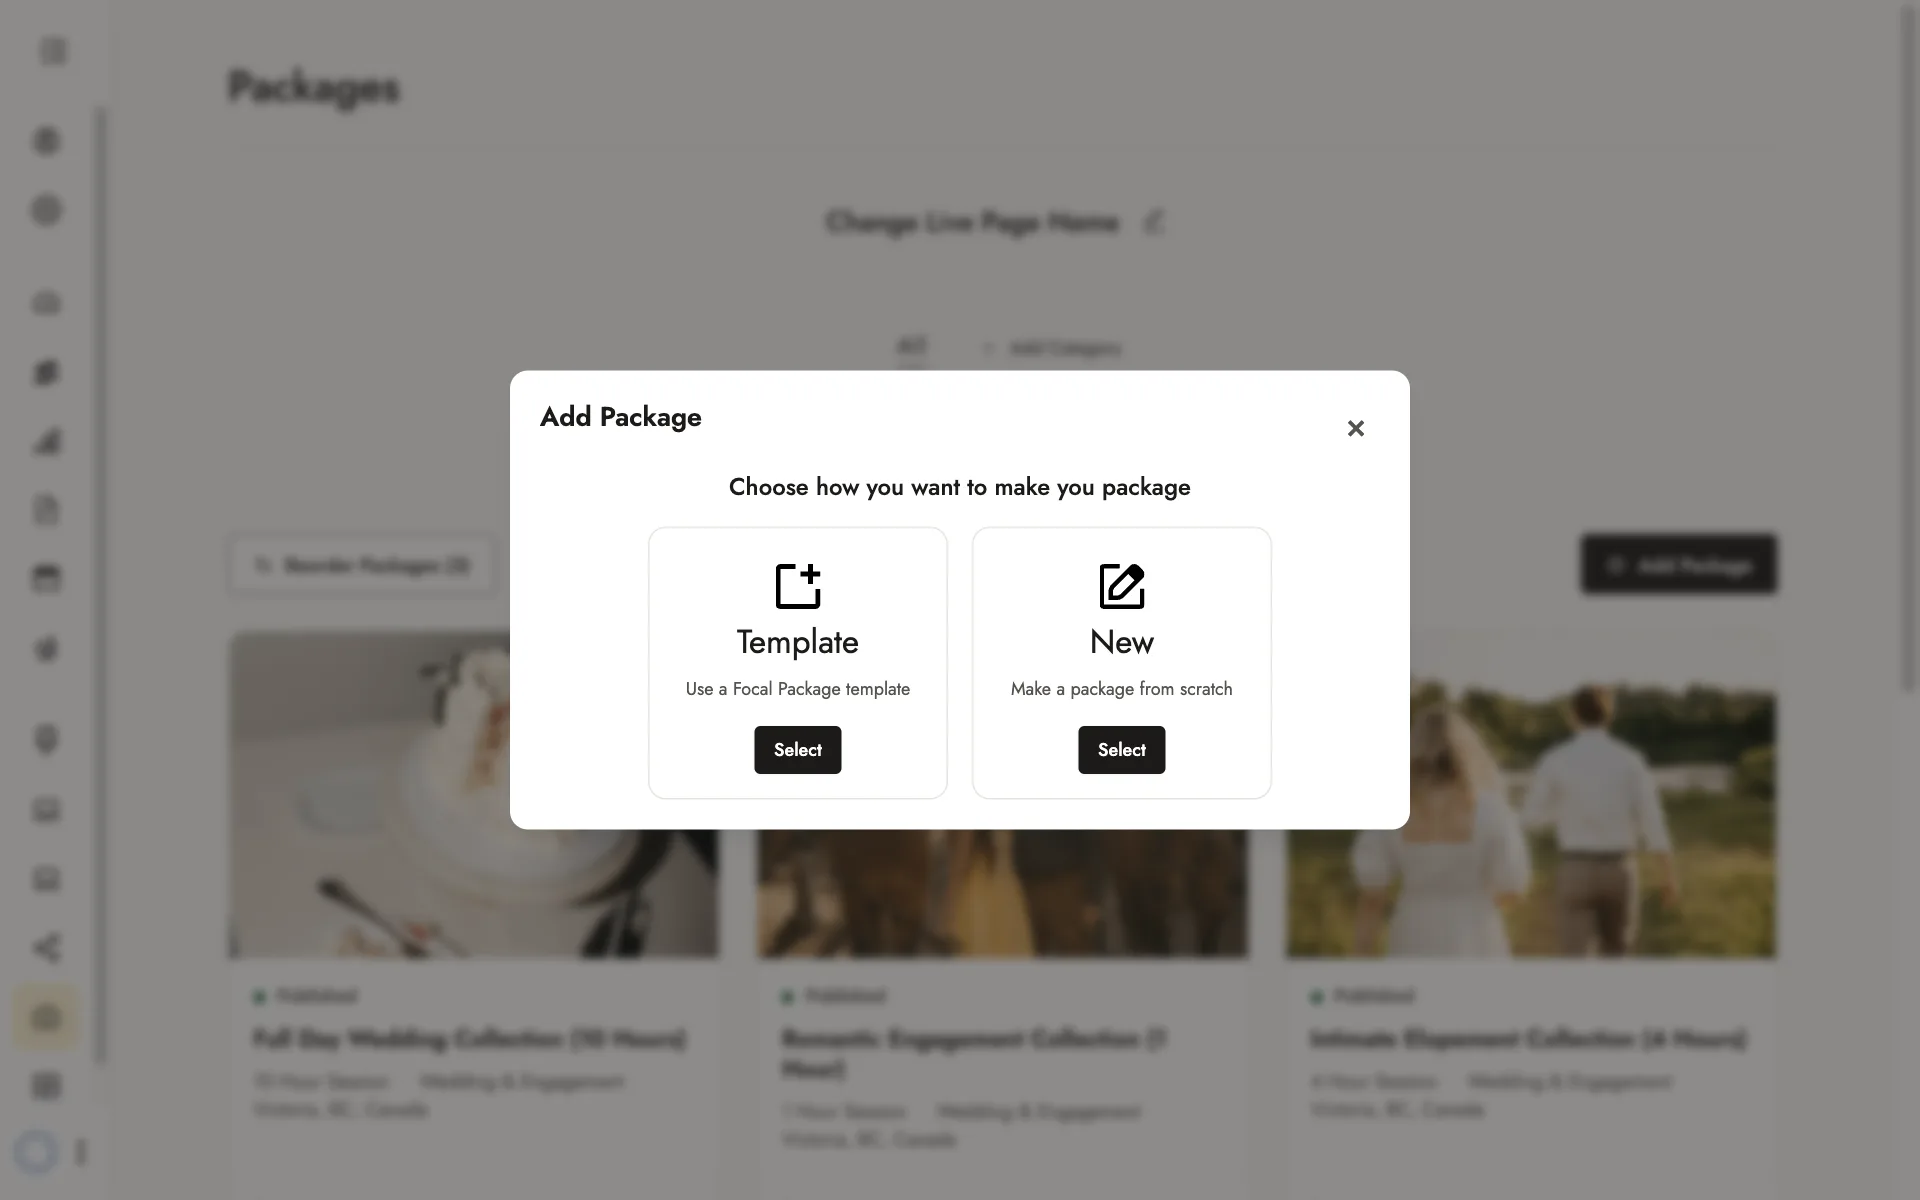
A template fills in the name, price, duration, and What’s Included. Change them to match what you offer.
Choosing a booking option
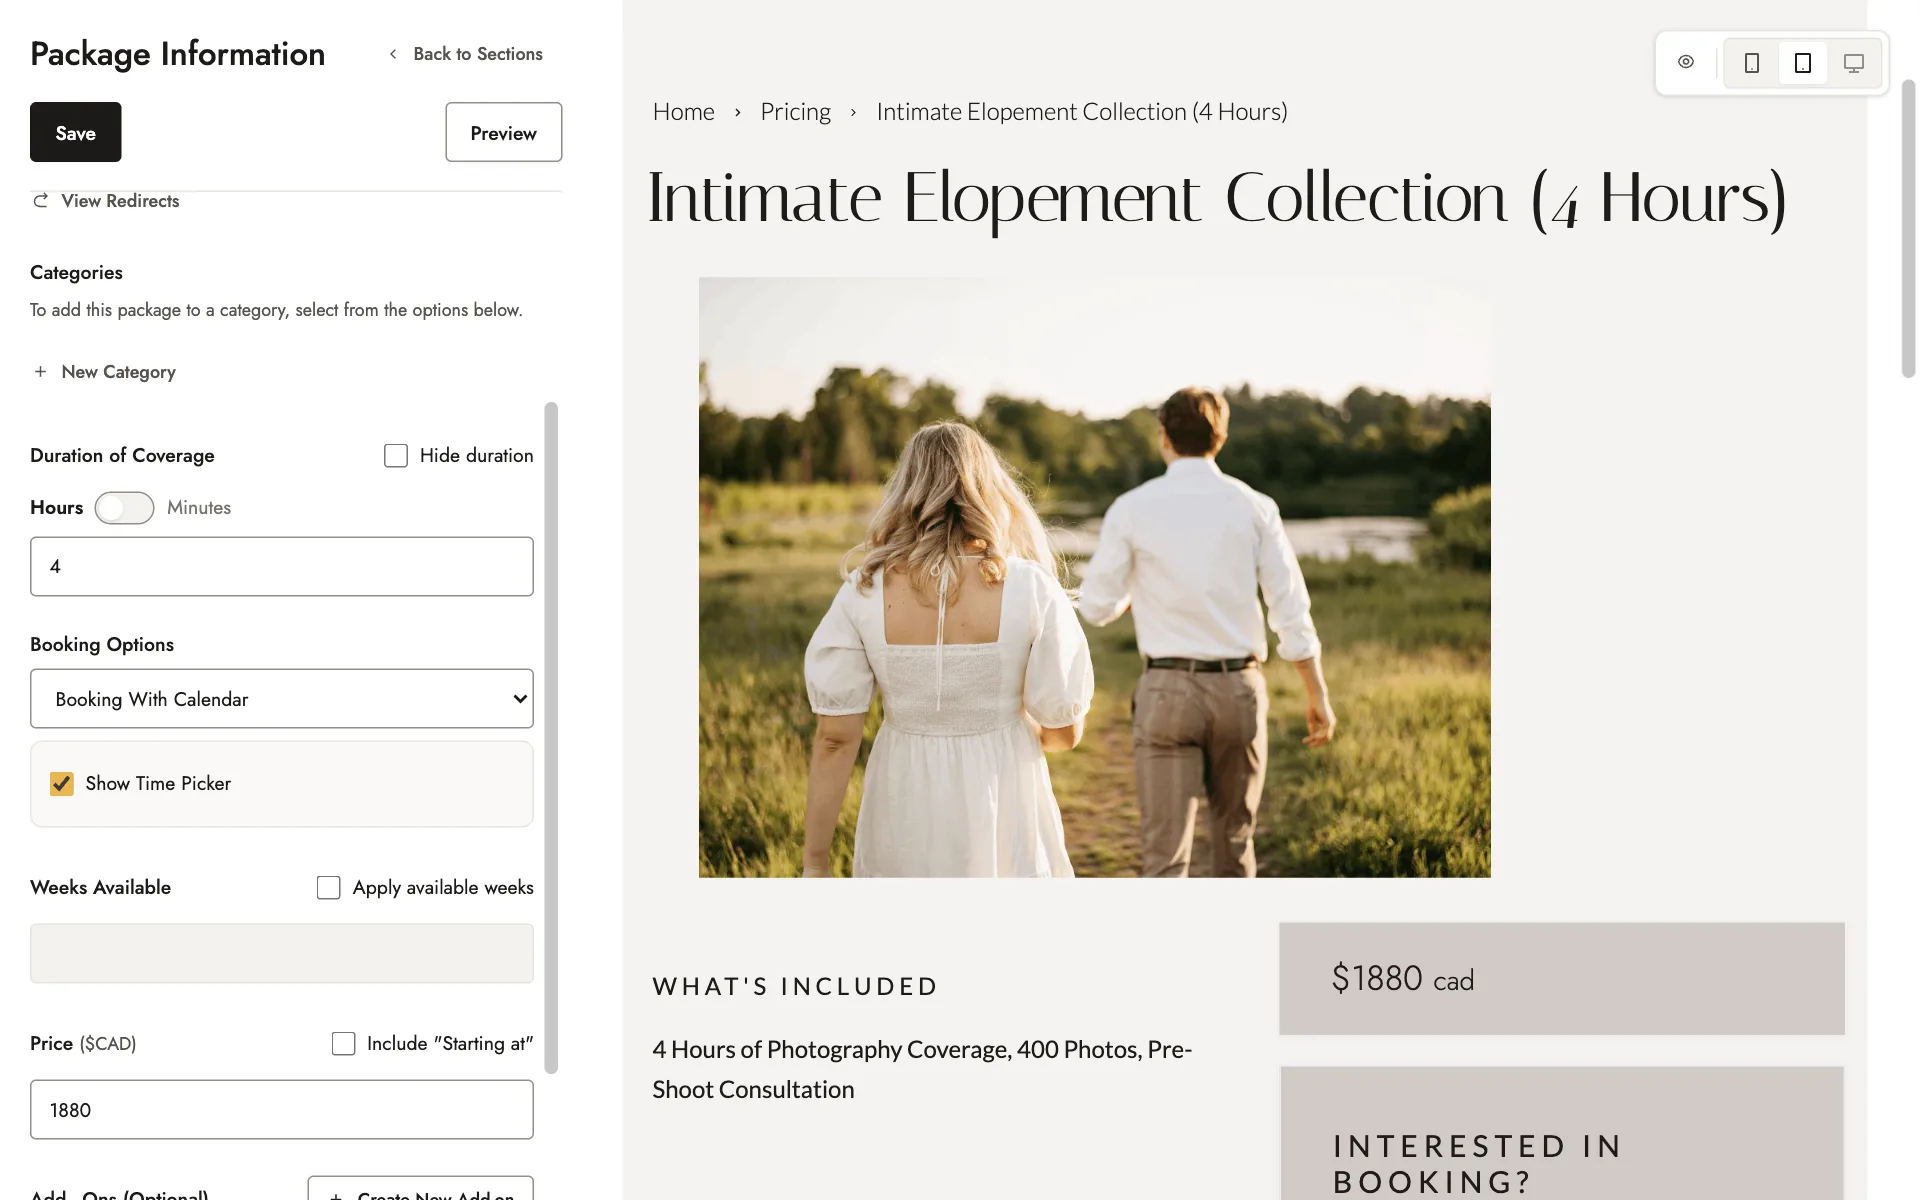
Each package’s booking option sets how clients book it. To change it, open the package and go to Package Information > Booking Options.
| Booking option | How clients book |
|---|---|
| Contact Form Only | They fill in the package’s contact form to request a booking. See Contact forms. |
| Booking With Calendar | They choose a date and time, then send you a booking request. |
| Instant Book | They choose a date and time, then pay to book straight away. |
| Mini Session | They choose one of the time slots you’ve set up. See Mini sessions. |
Plan required
For Booking With Calendar and Instant Book, untick Show Time Picker if clients should choose only a date.
With either option, clients can choose from the days and hours you set under Calendar. To limit how far ahead they can book, tick Apply available weeks and enter a number of weeks. See Your calendar and availability.
Instant Book takes payment through Stripe, so connect Stripe before you use it. See Getting paid.
Filling in your package
The Package Editor has seven sections:
| Section | What it holds |
|---|---|
| Package Information | The package’s name, web address, category, duration, booking option, price, and add-ons |
| Images | Your photos, and a YouTube or Vimeo video if you have one |
| What’s Included | What clients get, such as hours of coverage and the number of photos |
| What to Expect | Optional. What happens after a client books, on the day, and after the shoot |
| Description | Optional. A few paragraphs about the package |
| Policies | Your payment, extensions and reshoots, cancellation, weather, add-ons, and license policies |
| Contact Form | The questions clients answer when they book. See Contact forms. |
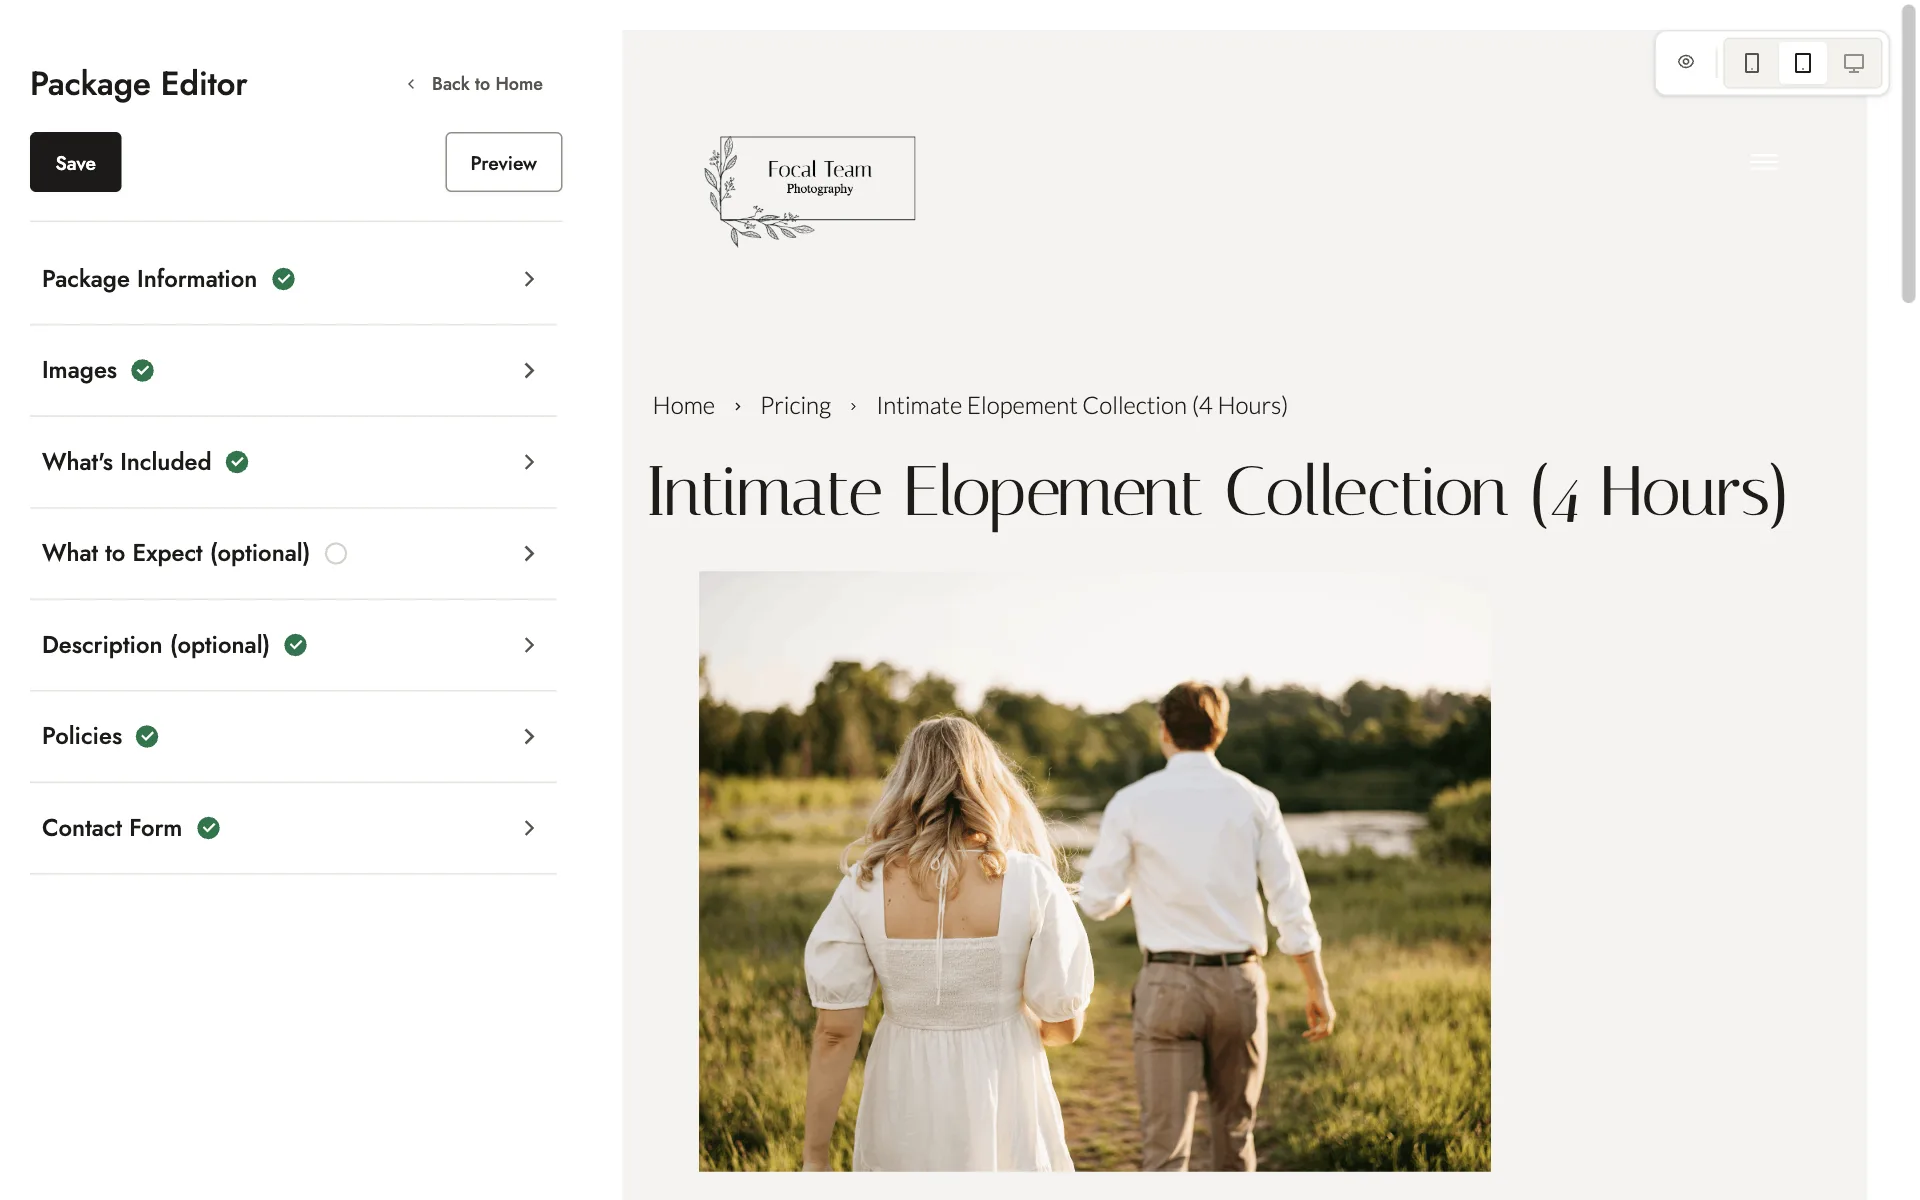
Under Duration of Coverage, enter the session length in hours or minutes. To leave it off the package, tick Hide duration.
To show the price as a starting price, tick Include “Starting at” under Price.
Under Images, upload your photos and drag them into order. Include at least 3 landscape photos, so the package’s photo grid is complete.
For extensions and reshoots, cancellation, and weather, you can tick Use Focal’s Default Policy instead of writing your own.
Adding add-ons
Add-ons are extras clients can add to a package, such as an extra hour or a second photographer. Clients add them when they request a booking, and choose how many.
To create one, open the package and go to Package Information. Click Create New Add-on, enter a name and price, then click Create add-on.
To add one you’ve already created to another package, use Choose from existing add-ons.
Publishing a package
A new package is a draft until you publish it. In your Packages list, open the actions menu (the three dots) on the package and choose:
- Publish on Portfolio to show it on your packages page, where anyone can view it.
- Publish as Private so only people with its link can view it. To share it, choose Copy Package Link from the same menu.
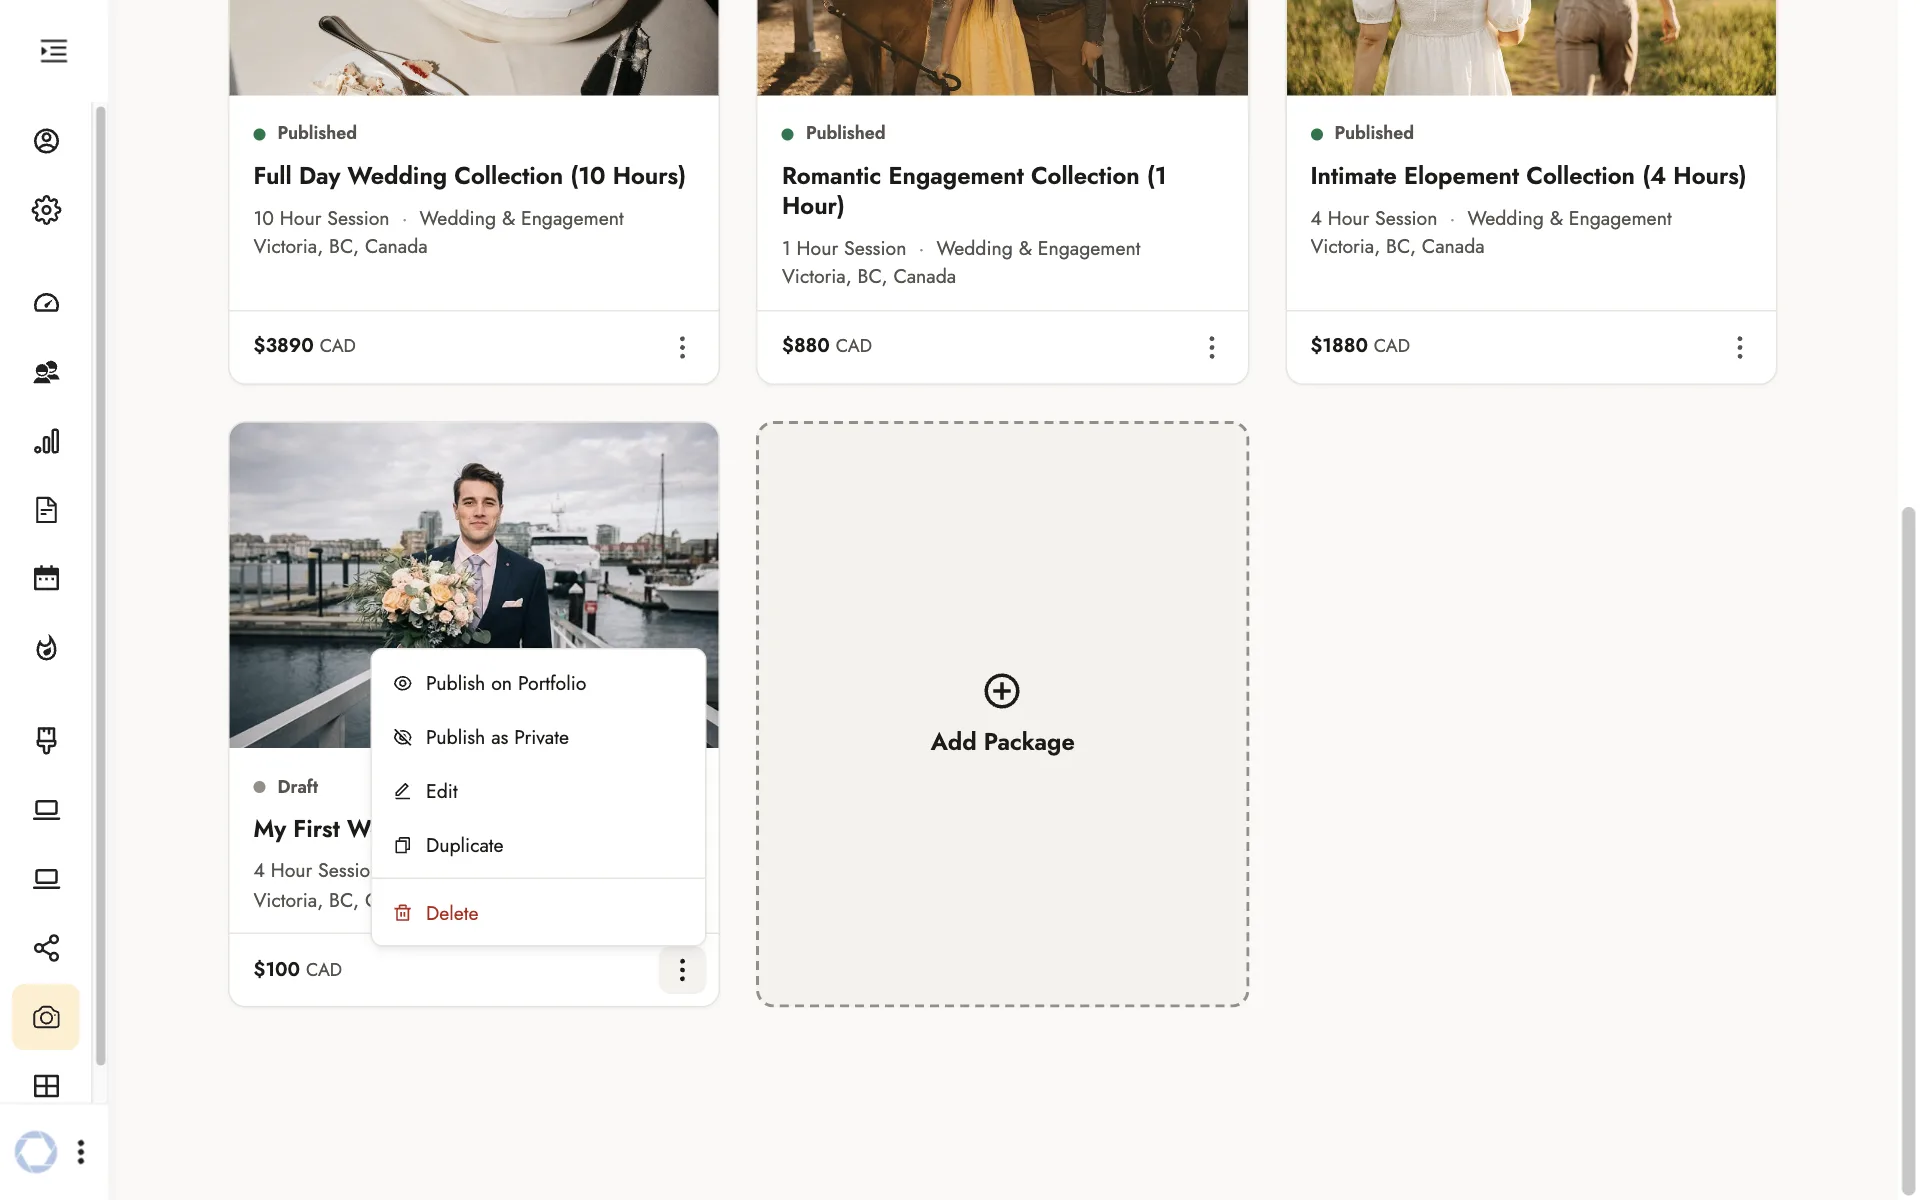
A package needs a name, duration, price, What’s Included, and at least one photo before you can publish it.
The same menu has Edit, Make Draft to take a package off your website, and Duplicate to start a new package from a copy.
For a published package, it also has Show on Marketplace, which lists the package on the Focal Marketplace, where couples looking for a photographer can find it. Bookings that come through the Marketplace have an 18% fee.
Before it adds your first package, Focal asks you to connect Stripe and accept the Focal Marketplace Agreement. Your profile also needs a cover photo, profile photo, company logo, and favicon. To take a package off, choose Remove from Marketplace.
Organizing your packages page
Set up your packages page from the top of your Packages list:
- Title: Click the pencil icon beside Change Live Page Name.
- Description: Click Add Live Page Description.
- Categories: Click Add Category to create one. Then open each package and choose its category under Package Information > Categories.
- Order: Click Reorder Packages, then drag your packages into order or sort them by name, price, or duration.
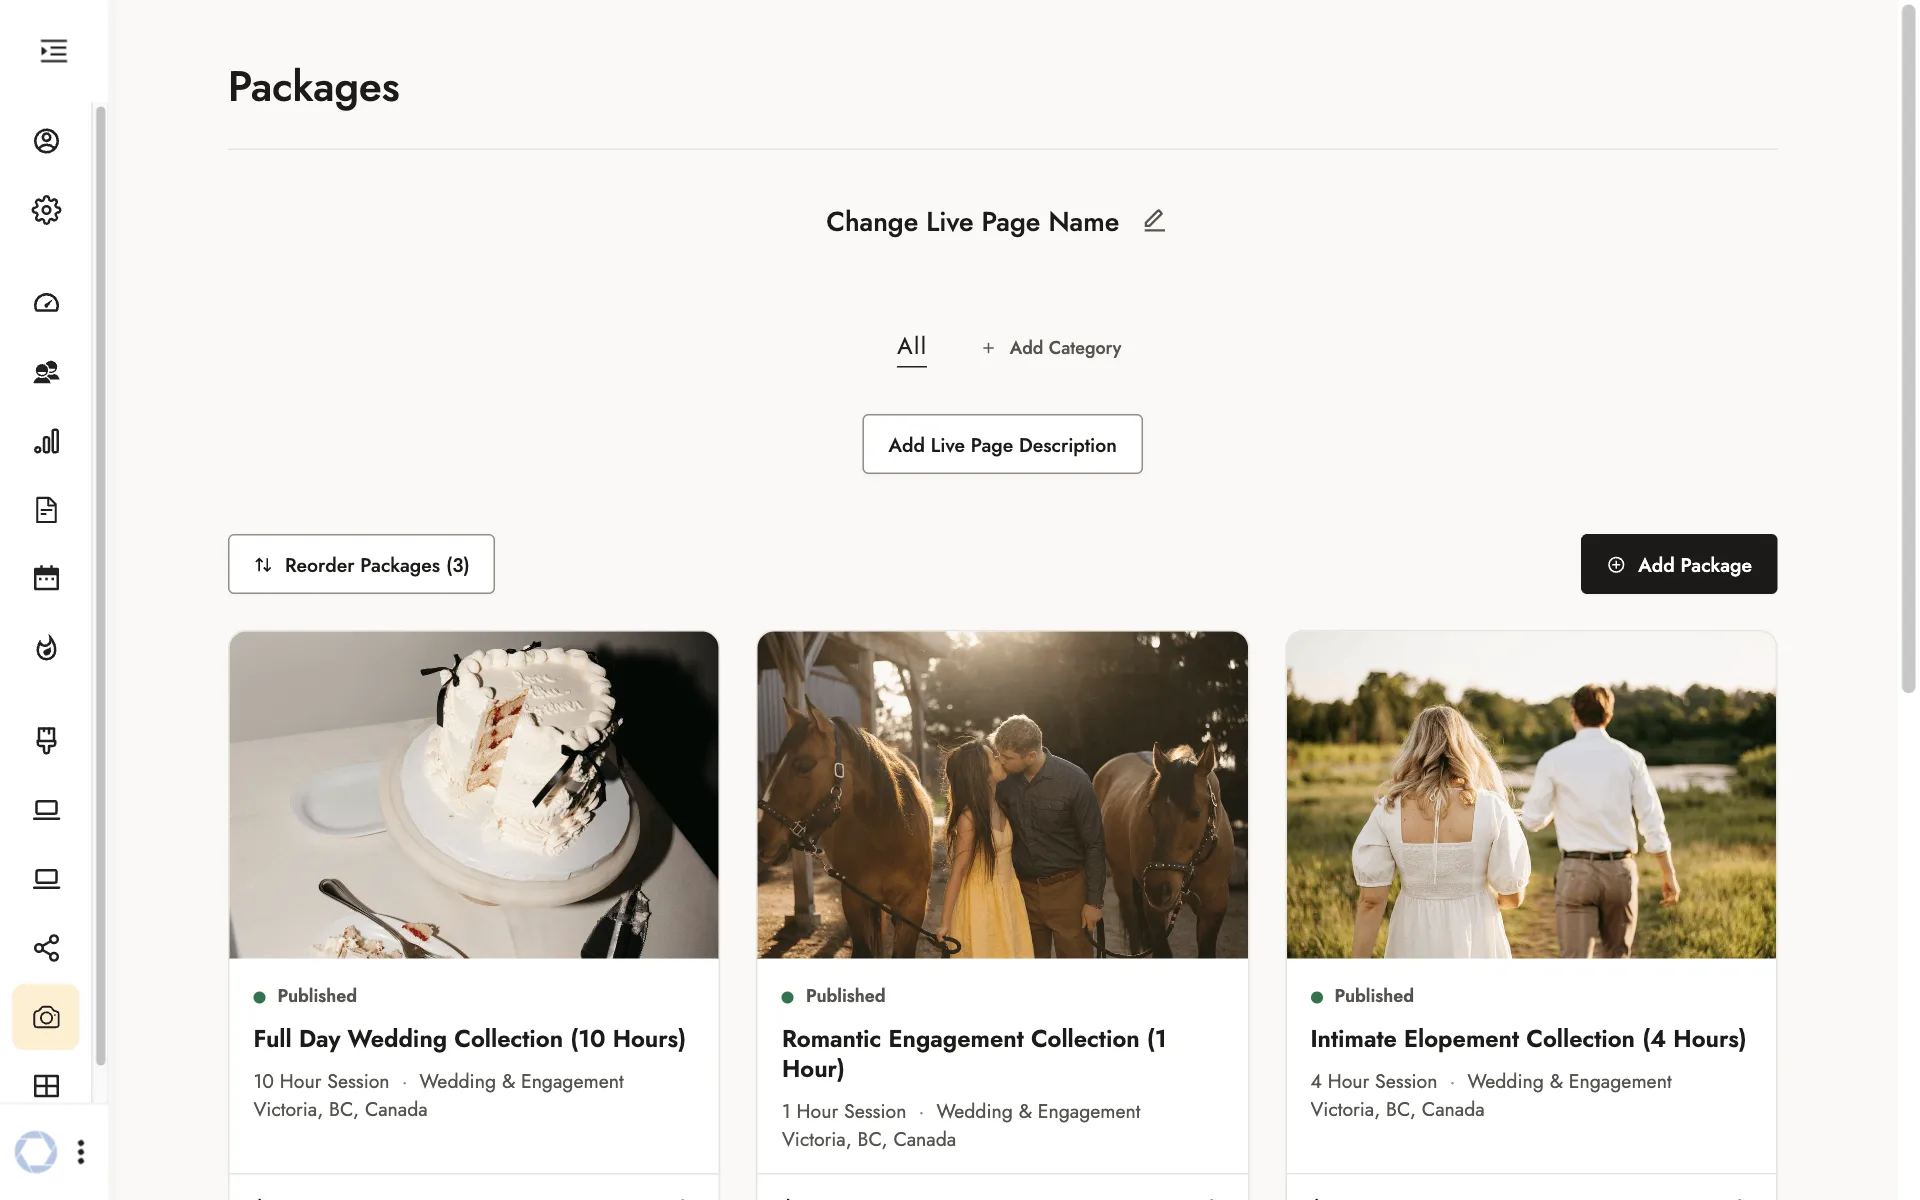
Each category has its own description and order. Select the category at the top of the list first.
On your packages page, each category shows as a tab, with its own description.
Related guides
- Contact formsEdit the contact form on your homepage, pages, blog posts and packages, and find where inquiries arrive.
- Featuring packages, posts, galleries and pagesChoose which packages, galleries, blog posts and pages appear on your homepage, and in what order.
- Your calendar and availabilityConnect Google Calendar, set the days and hours clients can book, and add a buffer.
- Mini sessionsSet up a mini session with its meeting place, dates, and time slots, and see how clients book it.
Still need help?
Email contact@bookfocal.com and a member of our team will help you.